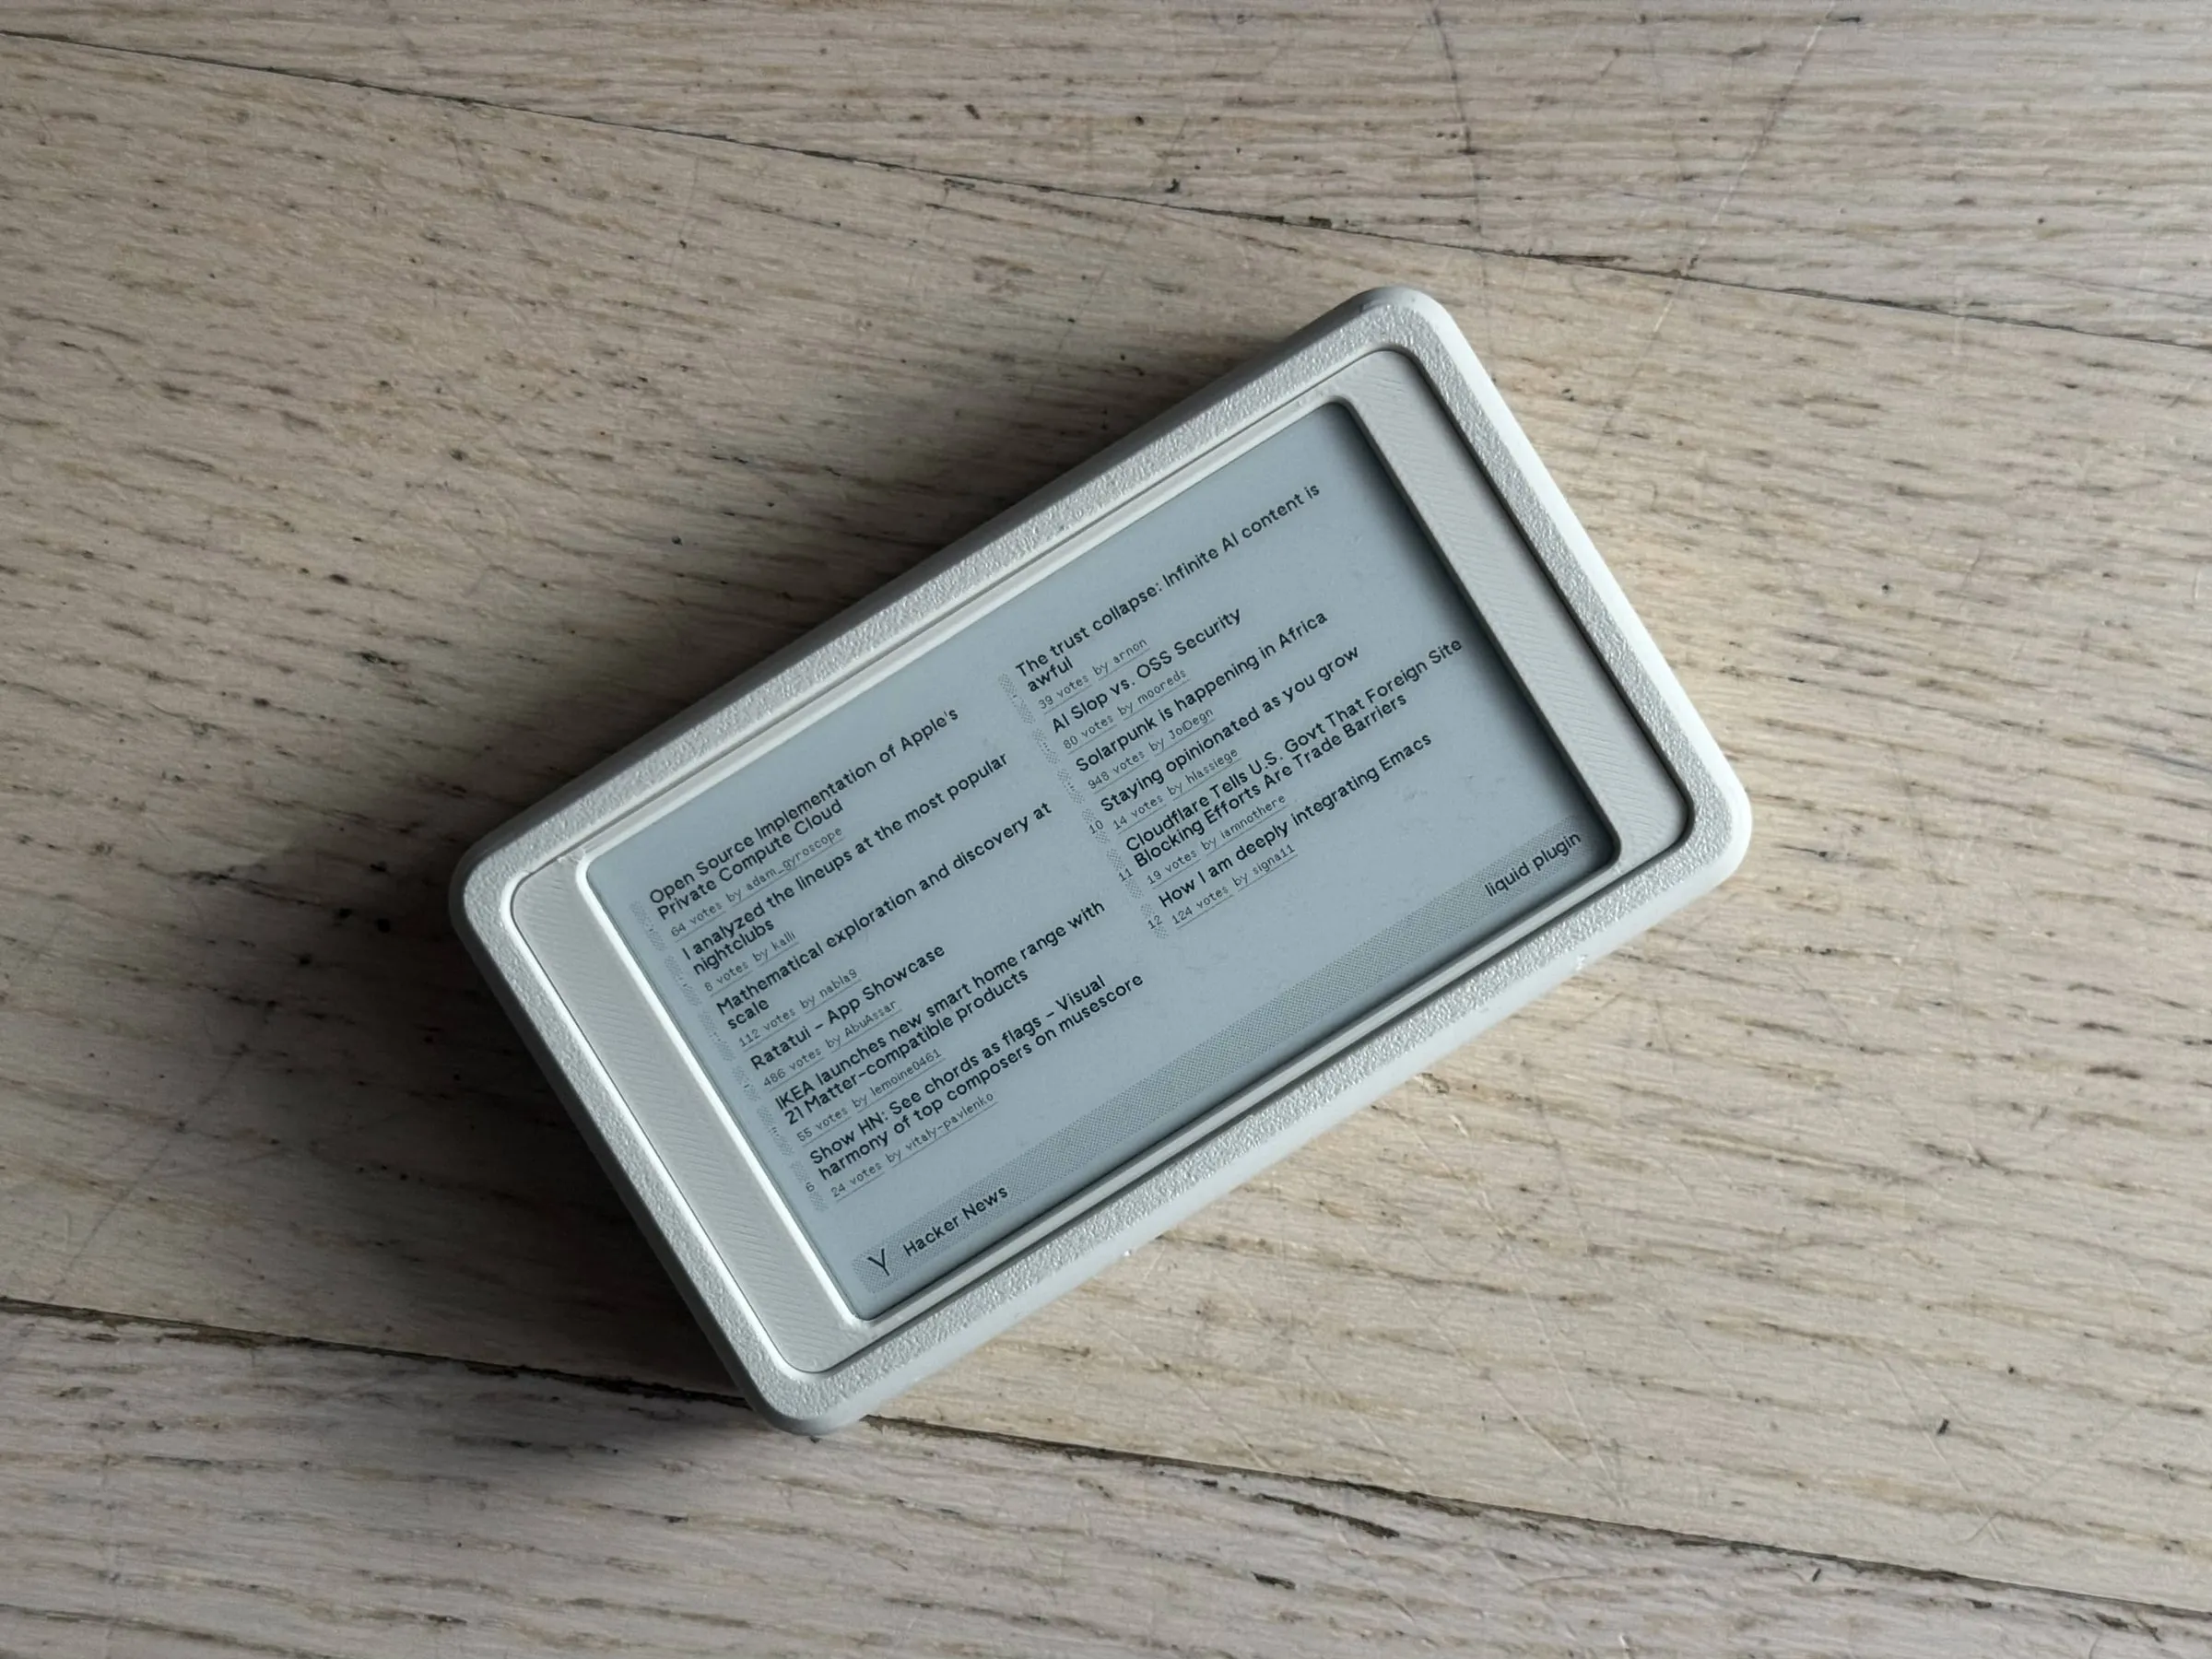
TRMNL mini
A DIY mini TRMNL: 4.26" 800x480 e-ink, battery powered, in a 3D printed case.
TRMNL mini is a 4.26” 800x480 e-ink display that runs on a battery and is fully compatible with TRMNL’s BYOD. In other words, TRMNL mini. It’s a DIY project, so you solder and assemble everything yourself, and 3D print the case.
Why I made it
I built myself a TRMNL (and bought the BYOD license) using the Seeed Xiao OG DIY Kit, in a case that I designed, and I really like using it in my day-to-day. So I thought to myself - what if I had this… but a bit smaller, to display weather and some simple stats? I wanted a smaller device for simpler plugins/recipes that would still work with TRMNL’s design system.
I started looking for a compatible panel that would somehow work with TRMNL image generation, and found a 4.26” 800x480 panel from Waveshare - an exact match when it comes to resolution.
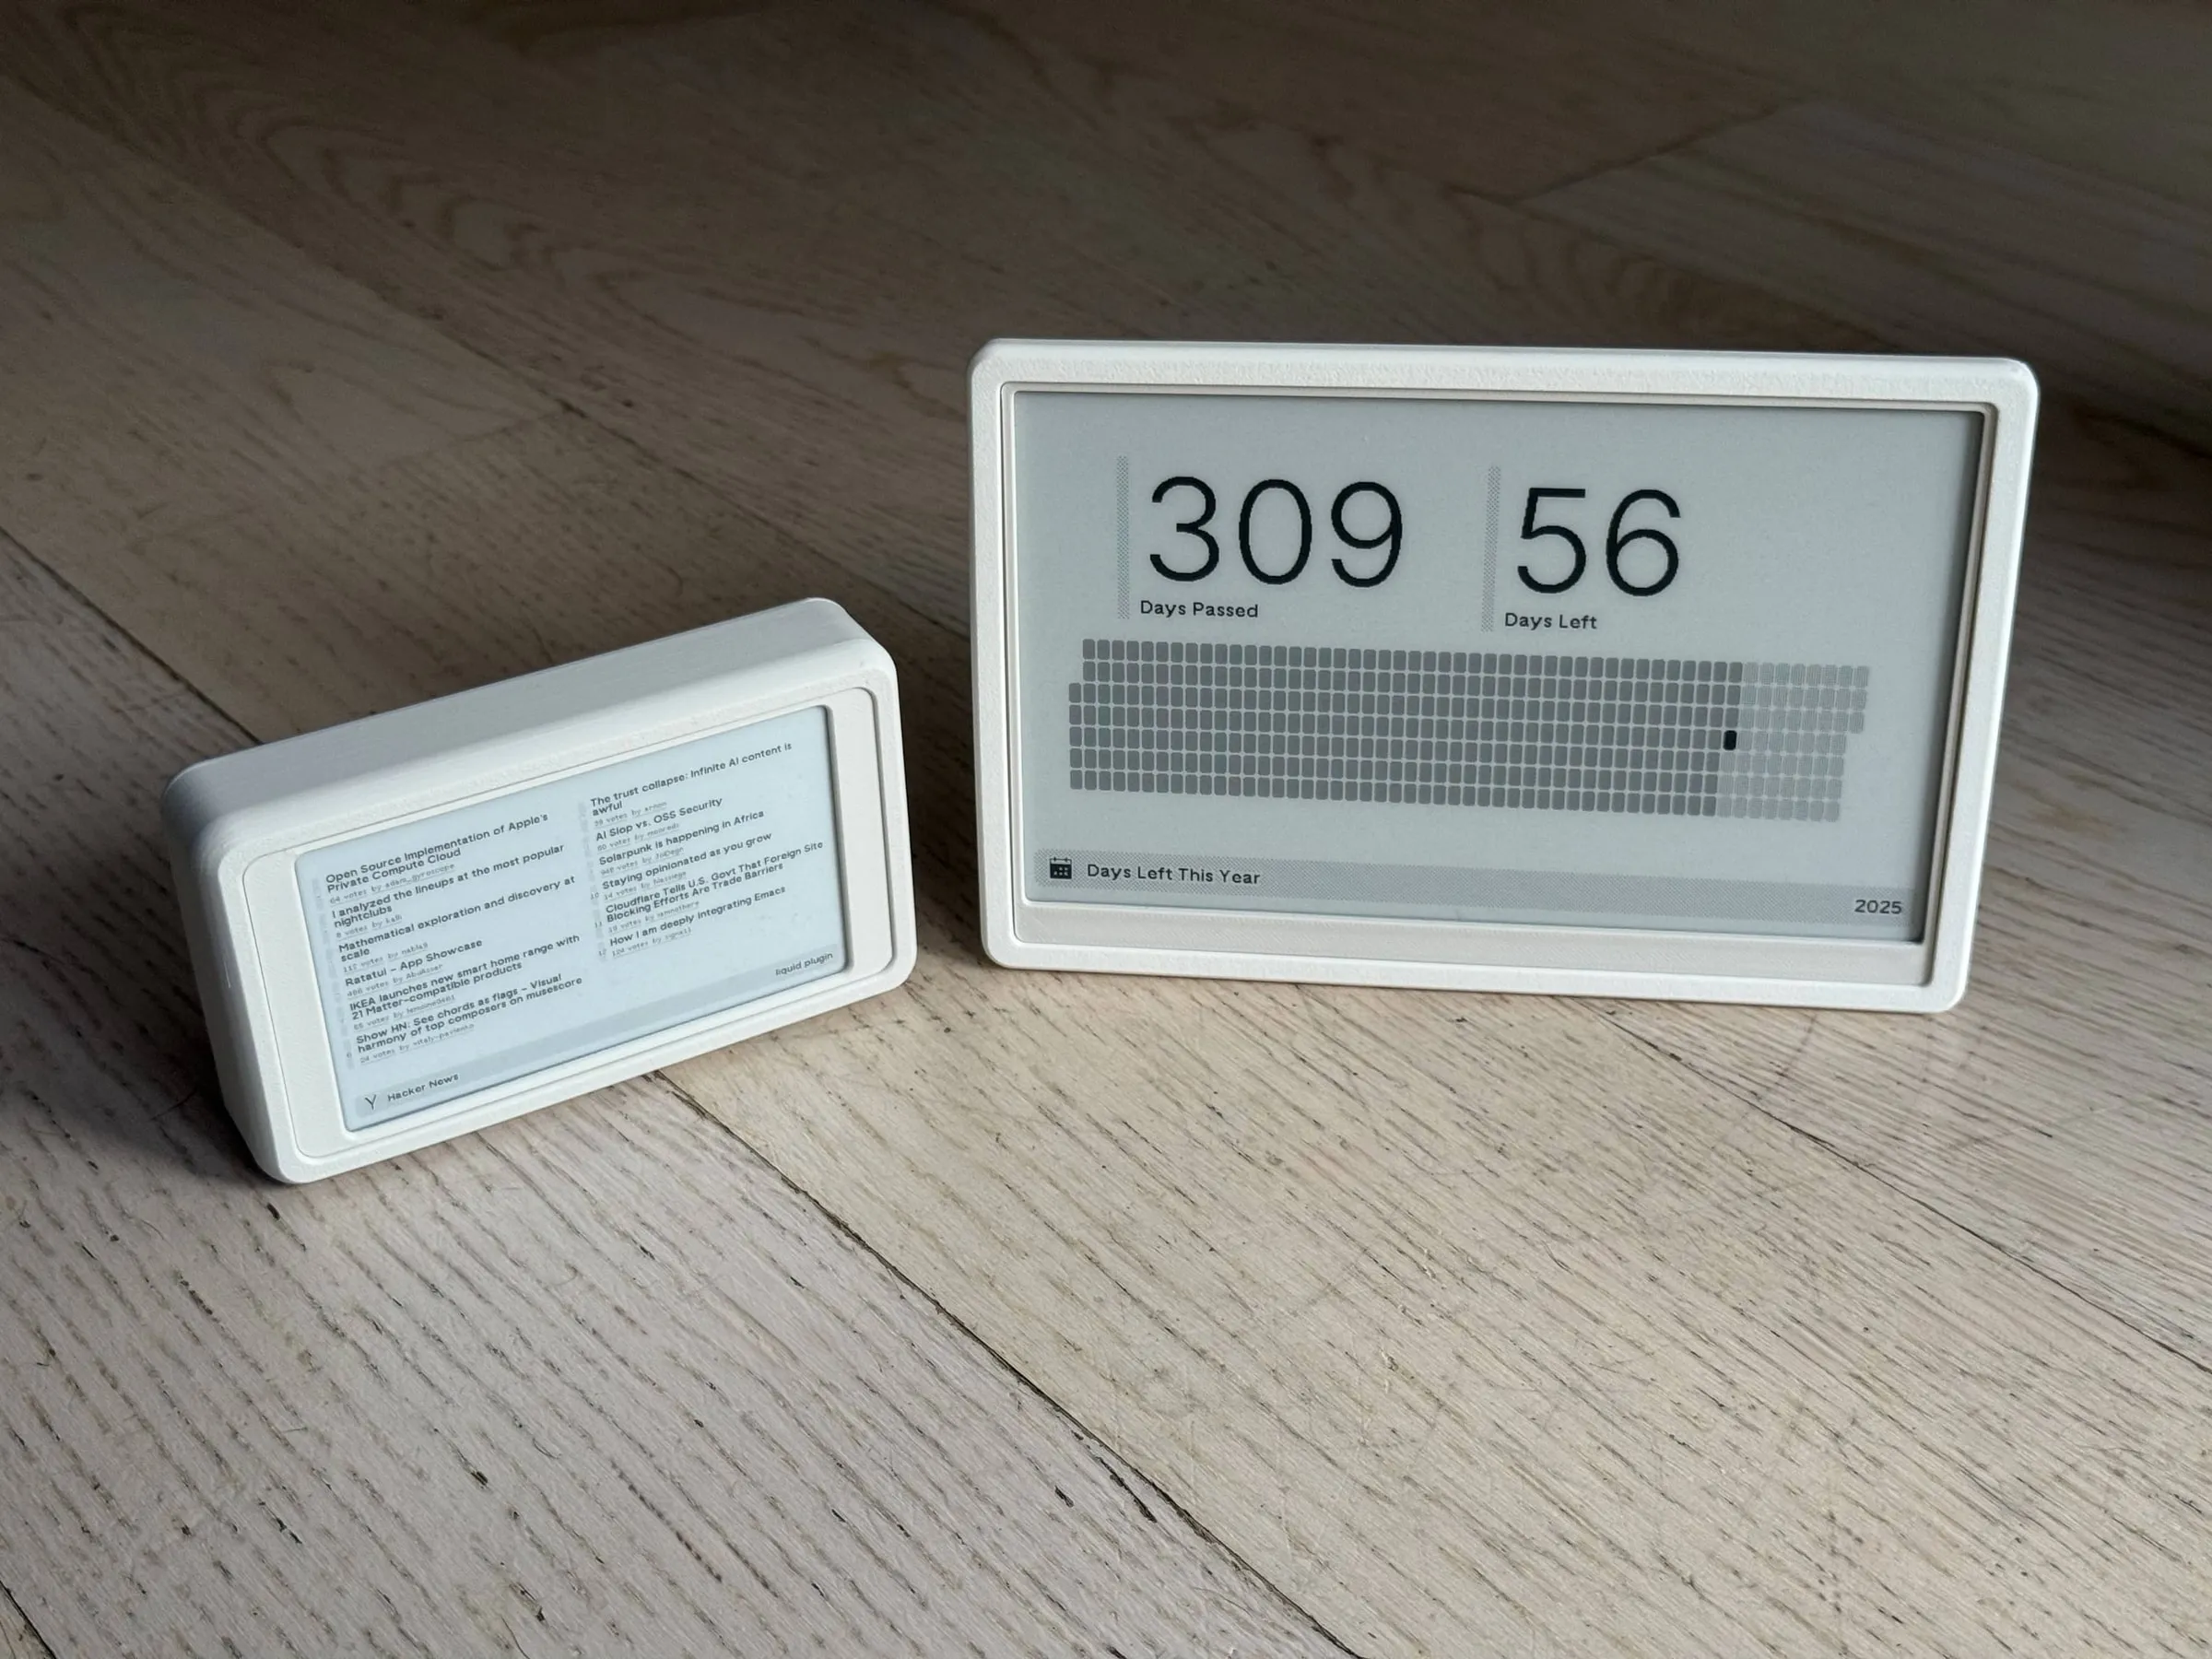
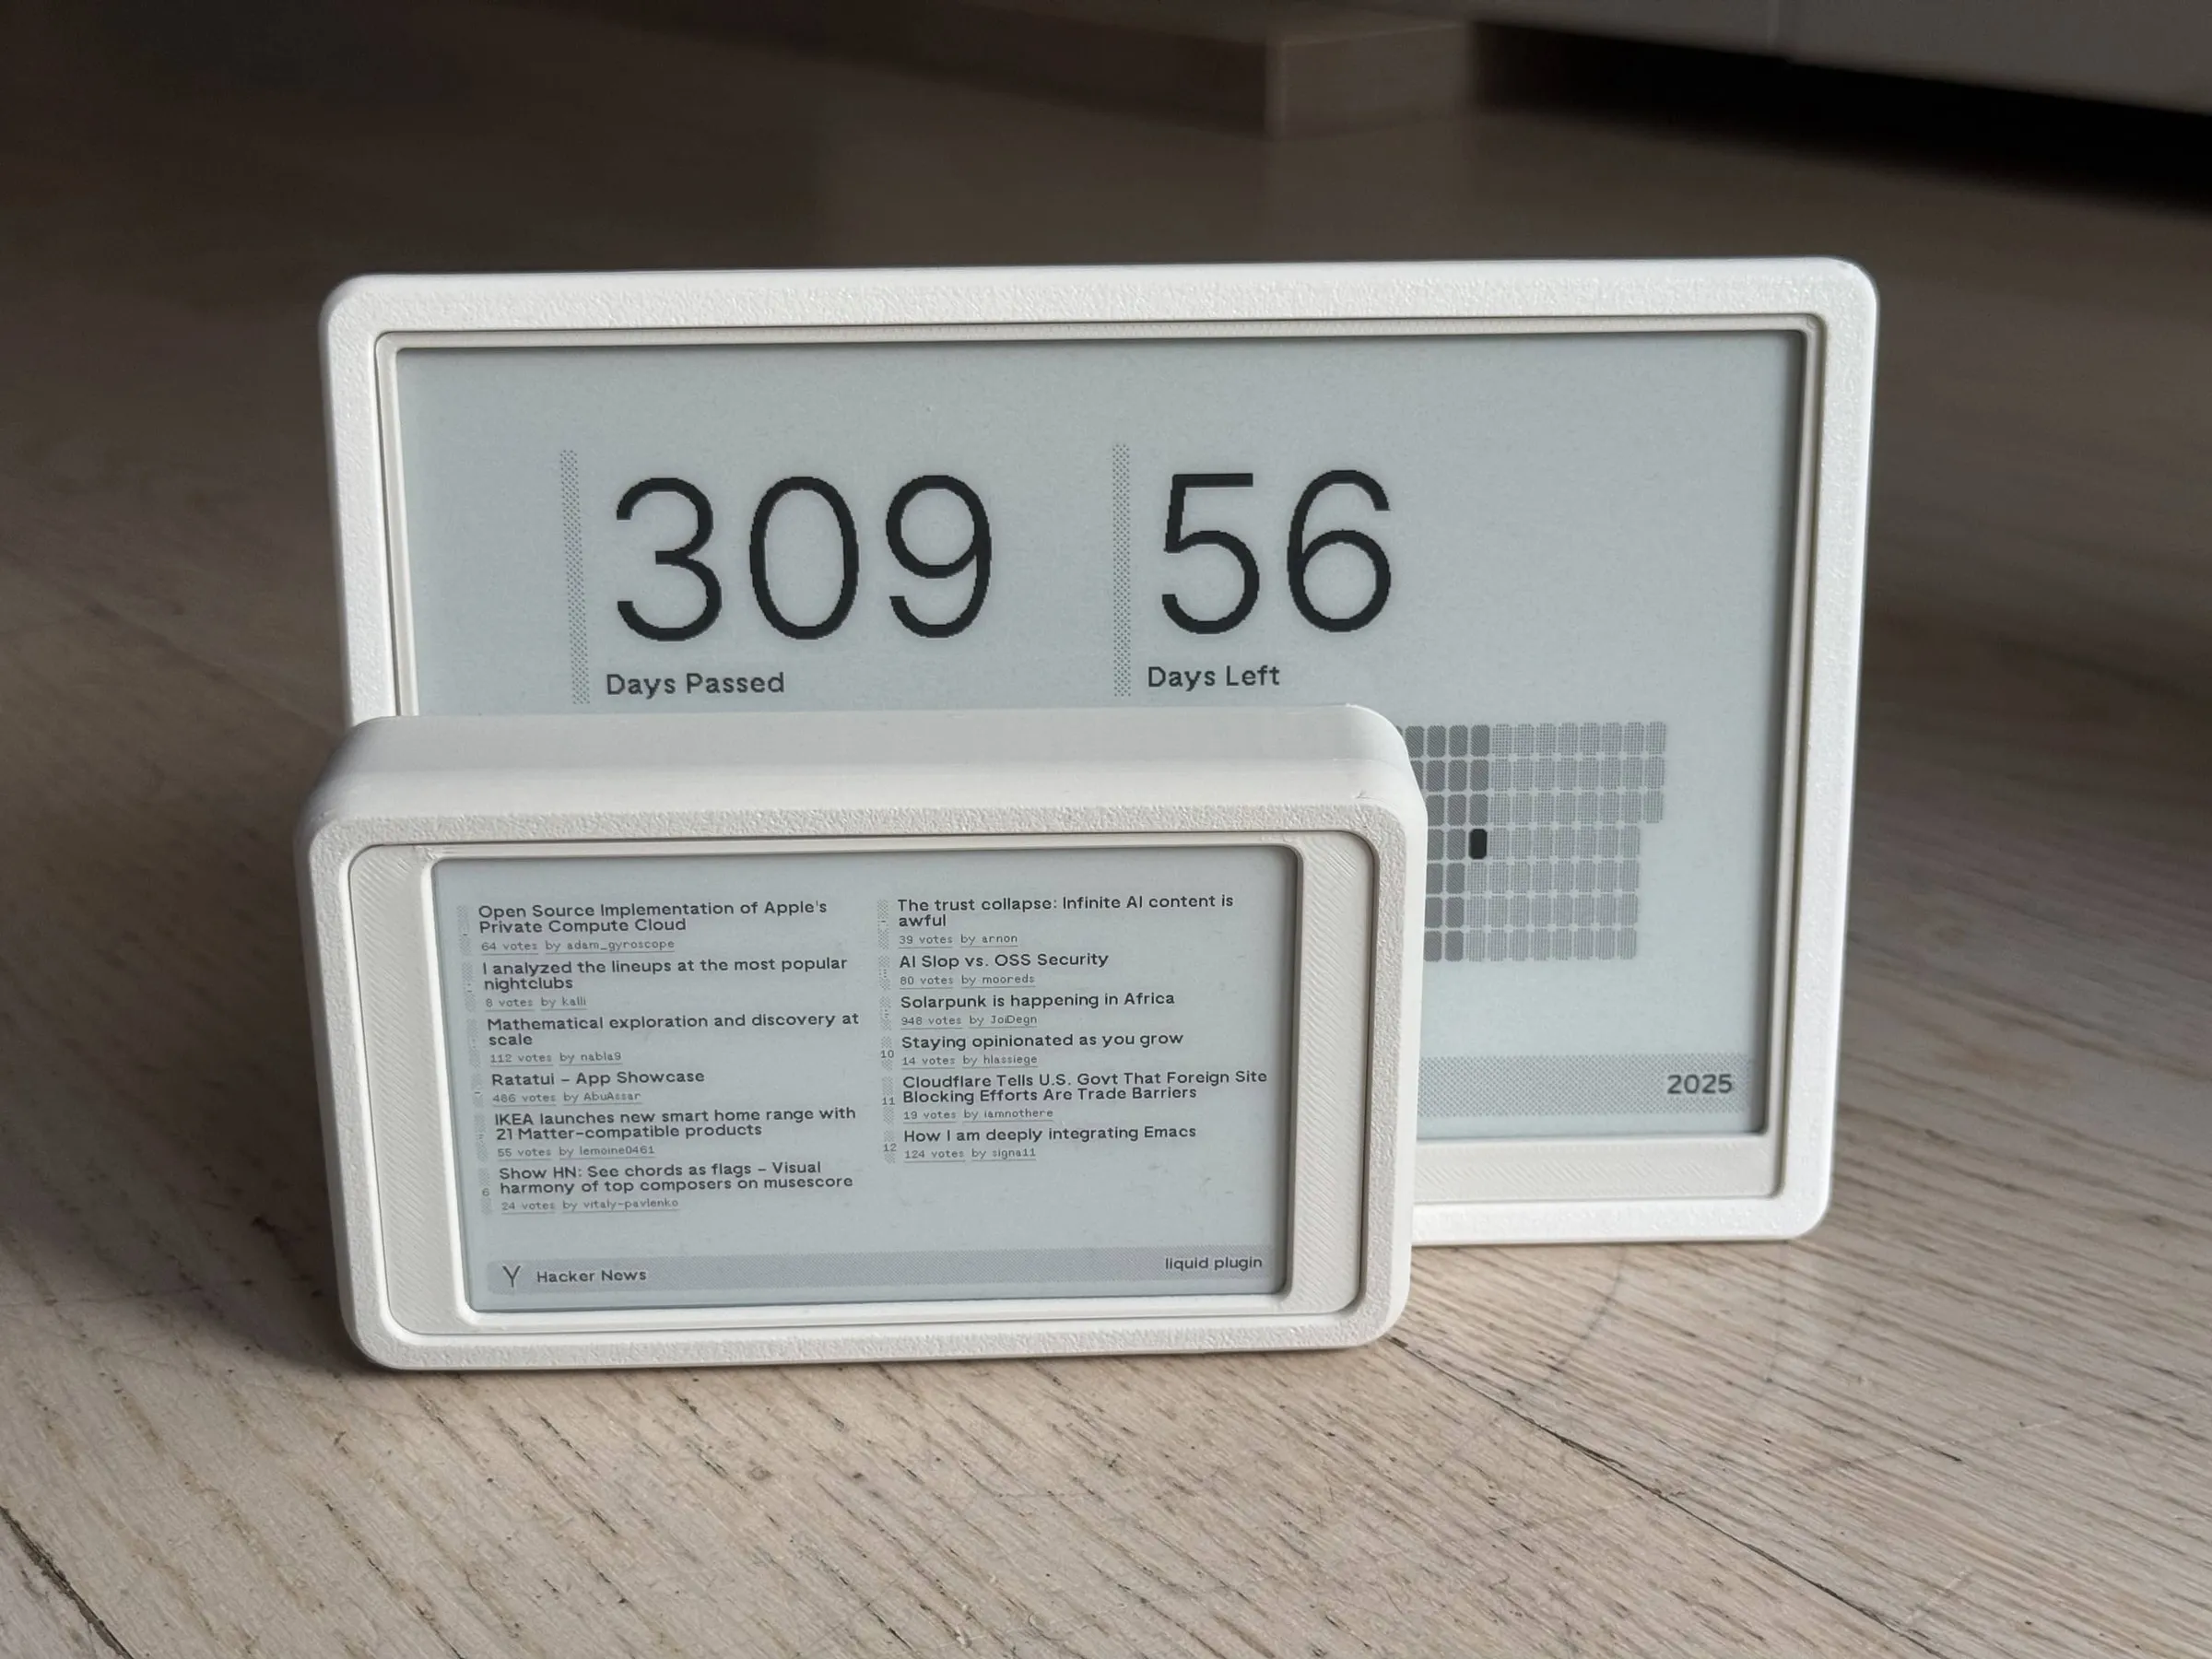
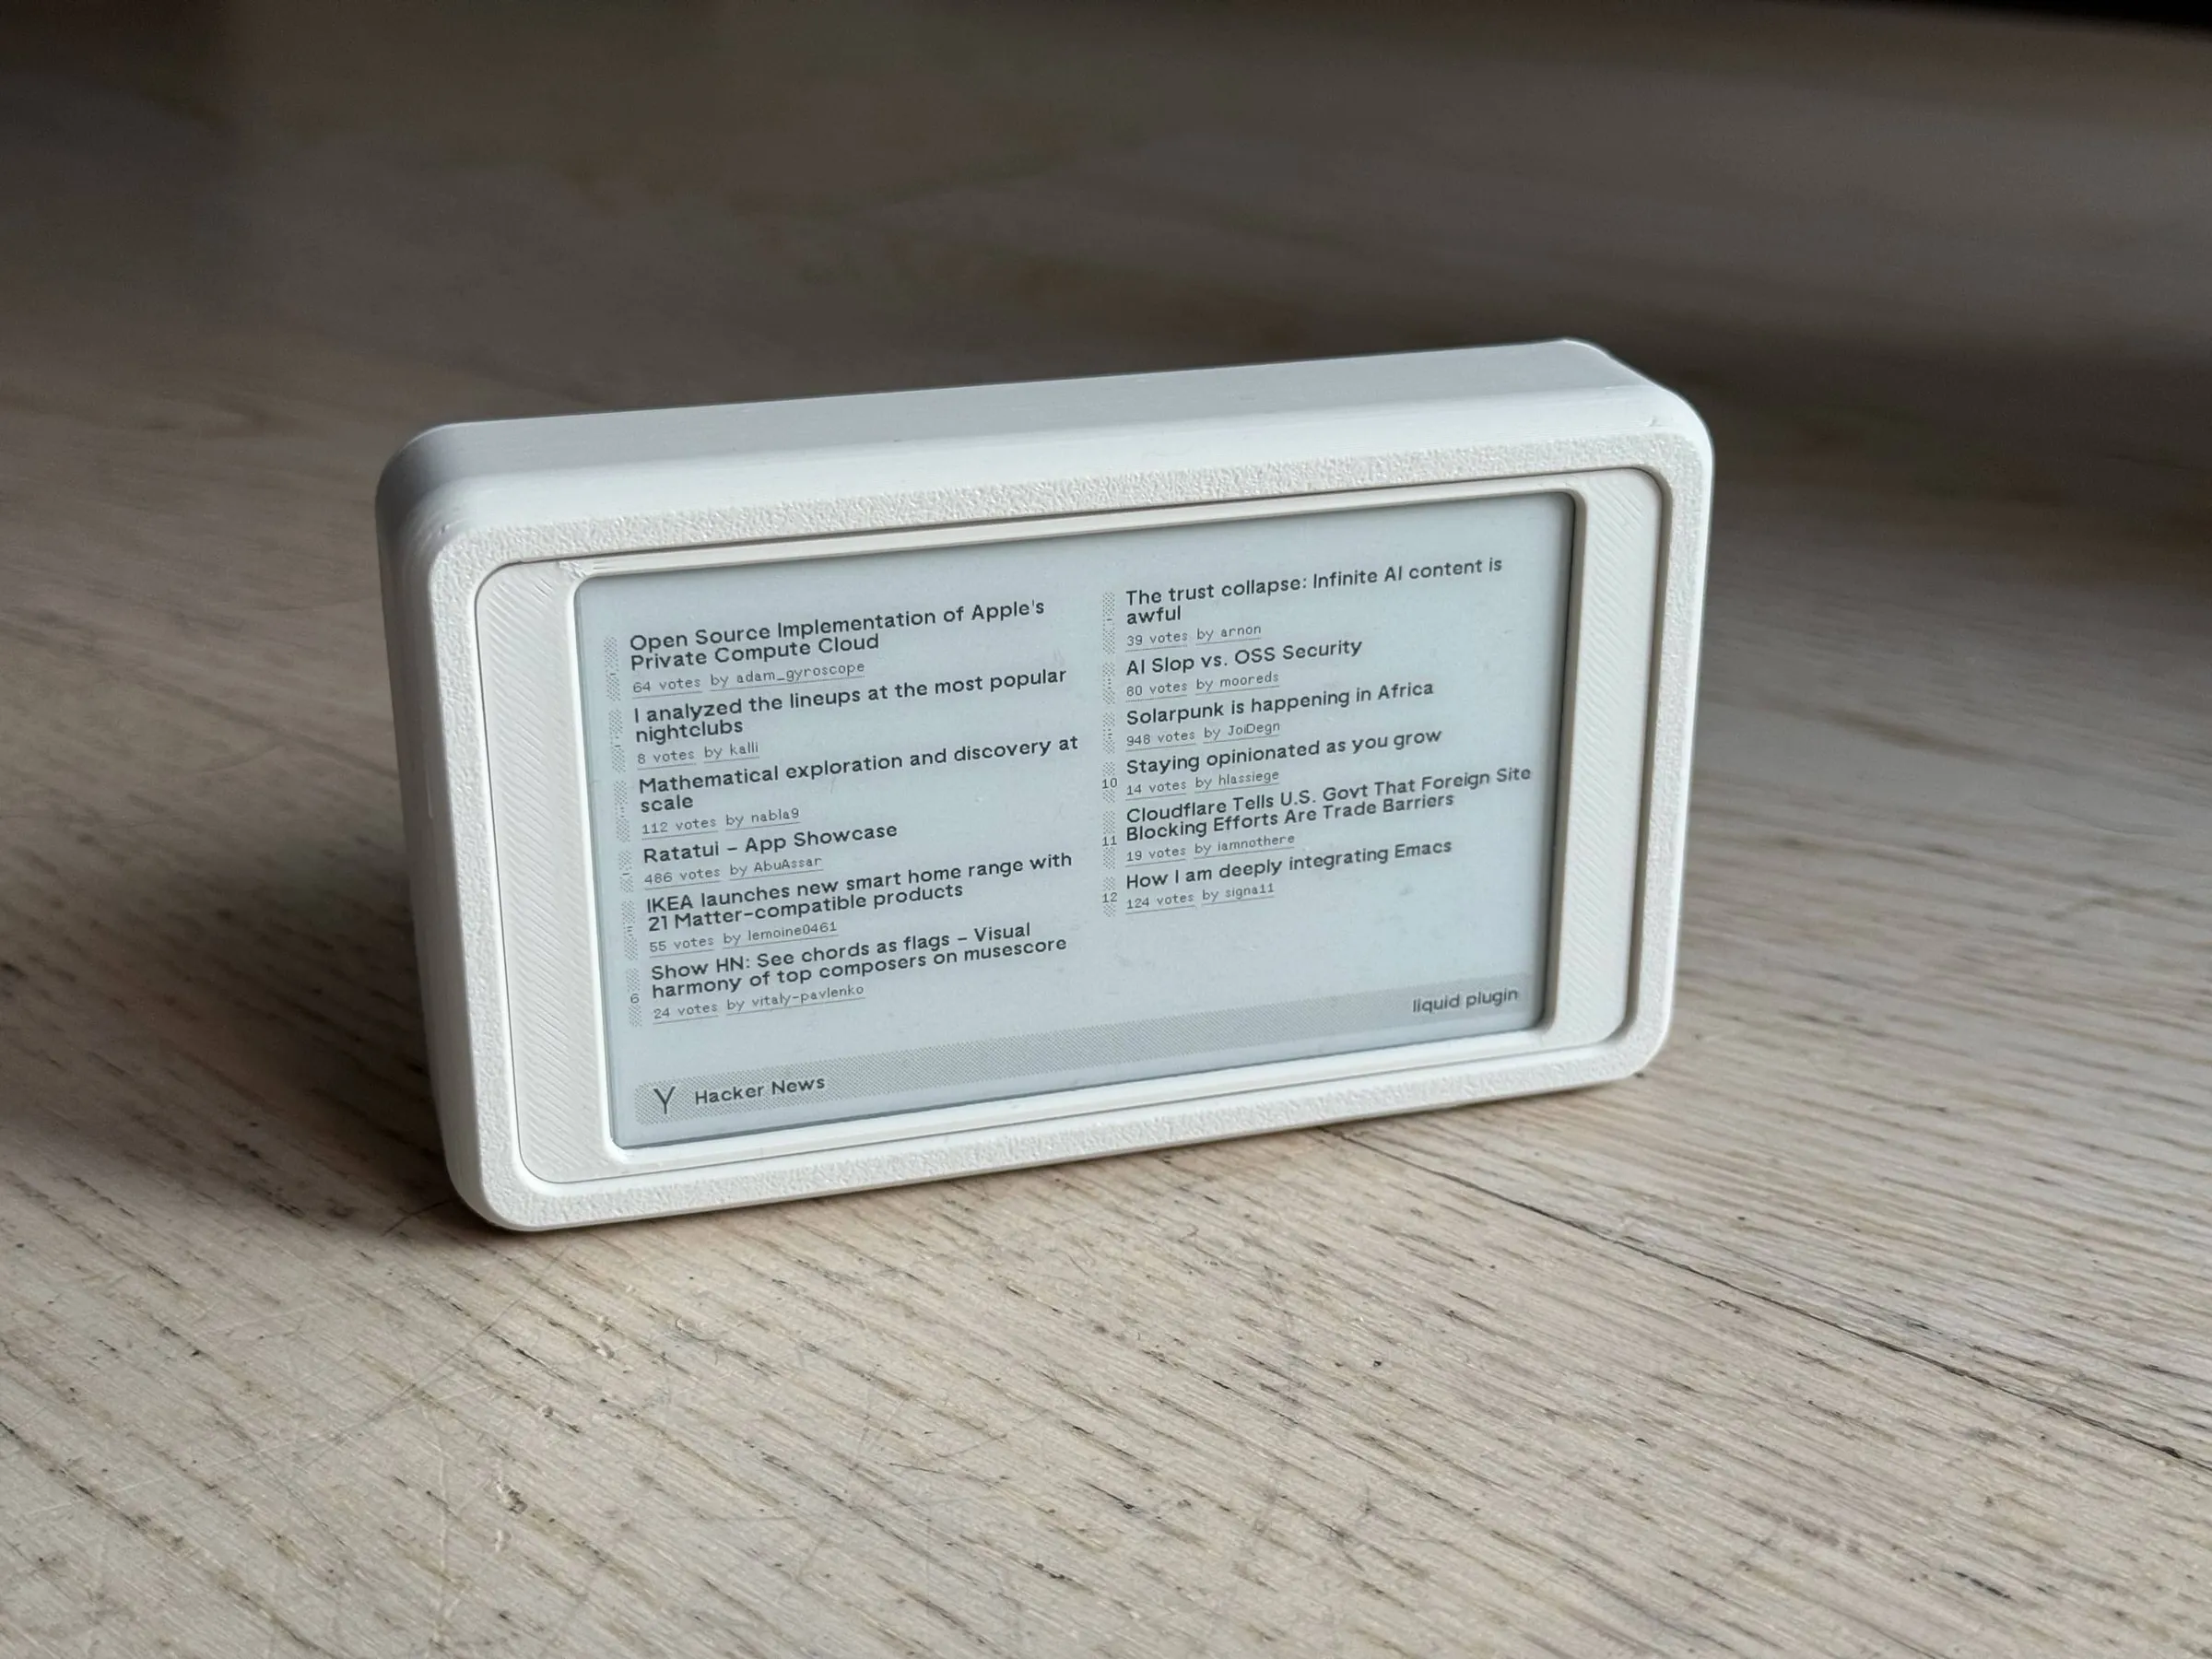
Day to day it’s a weather station in the entryway of my home, so I can always glance at it while going out. It shows TRMNL’s native weather plugin along with the Temperature Graph recipe in a 50/50 mashup, refreshed every hour.
Build story
I used the HAT version of the Waveshare display only because that was available in my country and I didn’t want to wait for shipping. I desoldered ripped off the pads while removing the headers. The device could be a little slimmer with the raw panel and Waveshare’s Universal e-Paper Raw Panel Driver HAT, but then I wouldn’t have had built-in mounting screw posts.
I started from TRMNL’s firmware (v1.6.10 back then), perused the code and found the bits I needed to flip. It took me more time to figure out how to set up my fork. One thing I had to change: fast and partial updates render as noise on the 4.26” panel, so it always does a full refresh.
I released it in 2025-11 and posted it on r/trmnl. At that point I didn’t have a BYOD license for it yet, so the pictures showed a local instance of byos-node.
I did get the BYOD license as a gift - my post was noticed by Ryan, the owner of the company. I exchanged a couple of emails with him, and their team actually added support for this screen into their firmware. I kept my fork separate because I’m not using the board they used for it though (XIAO ePaper Display Board ESP32-S3 EE04), but the Firebeetle 2 ESP32-E.
In 2026-09 I got it up to a newer firmware and set up the repo so my changes are an overlay on top of my fork of TRMNL’s firmware, with the firmware as a git submodule, so my device still gets updates:
mainin my fork is a plain mirror of TRMNL’s firmware- The
firebeetlebranch is a thin overlay on top of it (upstreamv1.8.16right now), not a long-lived edited copy scripts/sync-upstream.shdoes the whole sync: fast-forwardsmainfrom upstream, rebases the overlay on top, pushes
Upstream has since absorbed most of what I used to patch by hand: bb_epaper is a managed dependency now instead of a vendored copy, the 4.26” panel is a first-class panel type, and board pins live in a data table rather than #define. So the overlay is down to about 120 lines across three files:
- The
[env:dfrobot_firebeetle2_esp32e]build env - The Firebeetle 2 ESP32-E in the board table - SPI pins, button and battery
- Forced full refresh on the 4.26” panel
How it works
Parts:
- Waveshare 4.26” 800x480 e-ink panel with HAT
- Firebeetle 2 ESP32-E dev board
- Li-Po 3.7V 2000mAh 103450 battery - 50x34x10 mm, it needs to have the same dimensions, otherwise you will have to modify the case
- Micro switch - 6x6x7 mm
- M2 screws + nuts
- M2.5 screws
The battery lasts more than a month on one charge (with refresh every hour).
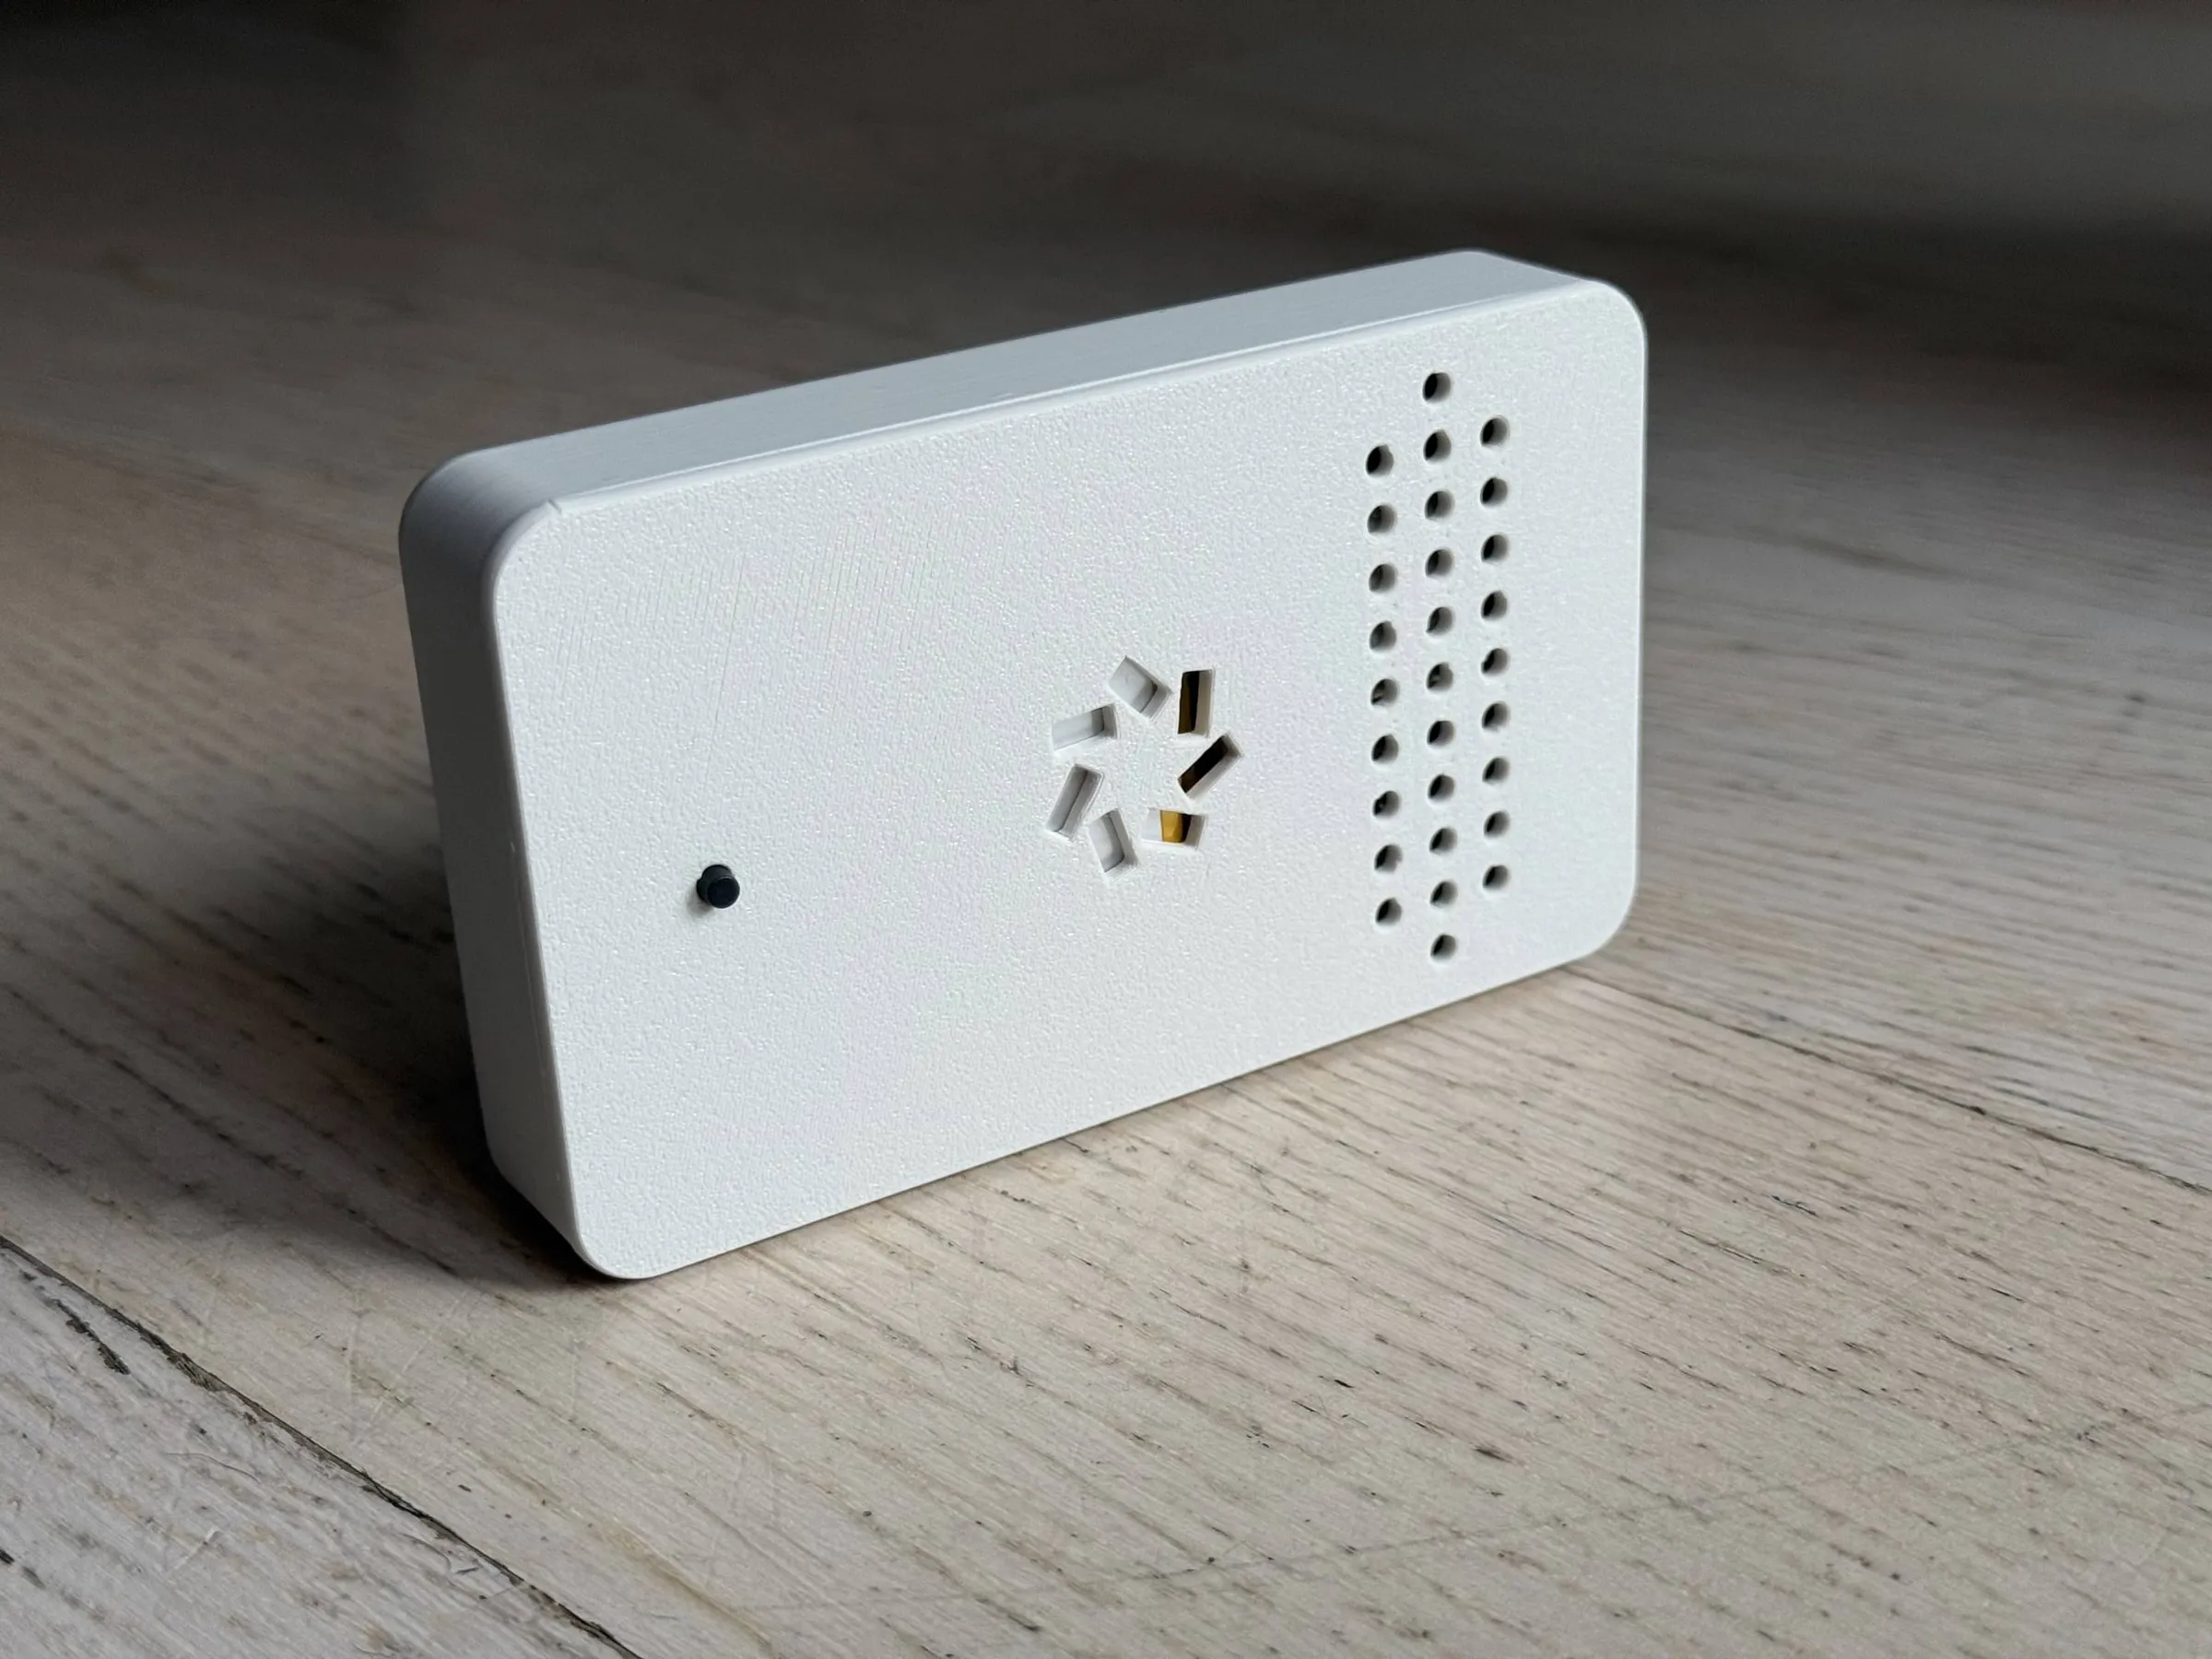
The case was designed by me in Fusion360, in a similar style to the case I did for the OG DIY Kit. It has four parts:
- Front
- Display ring
- Midframe
- Back
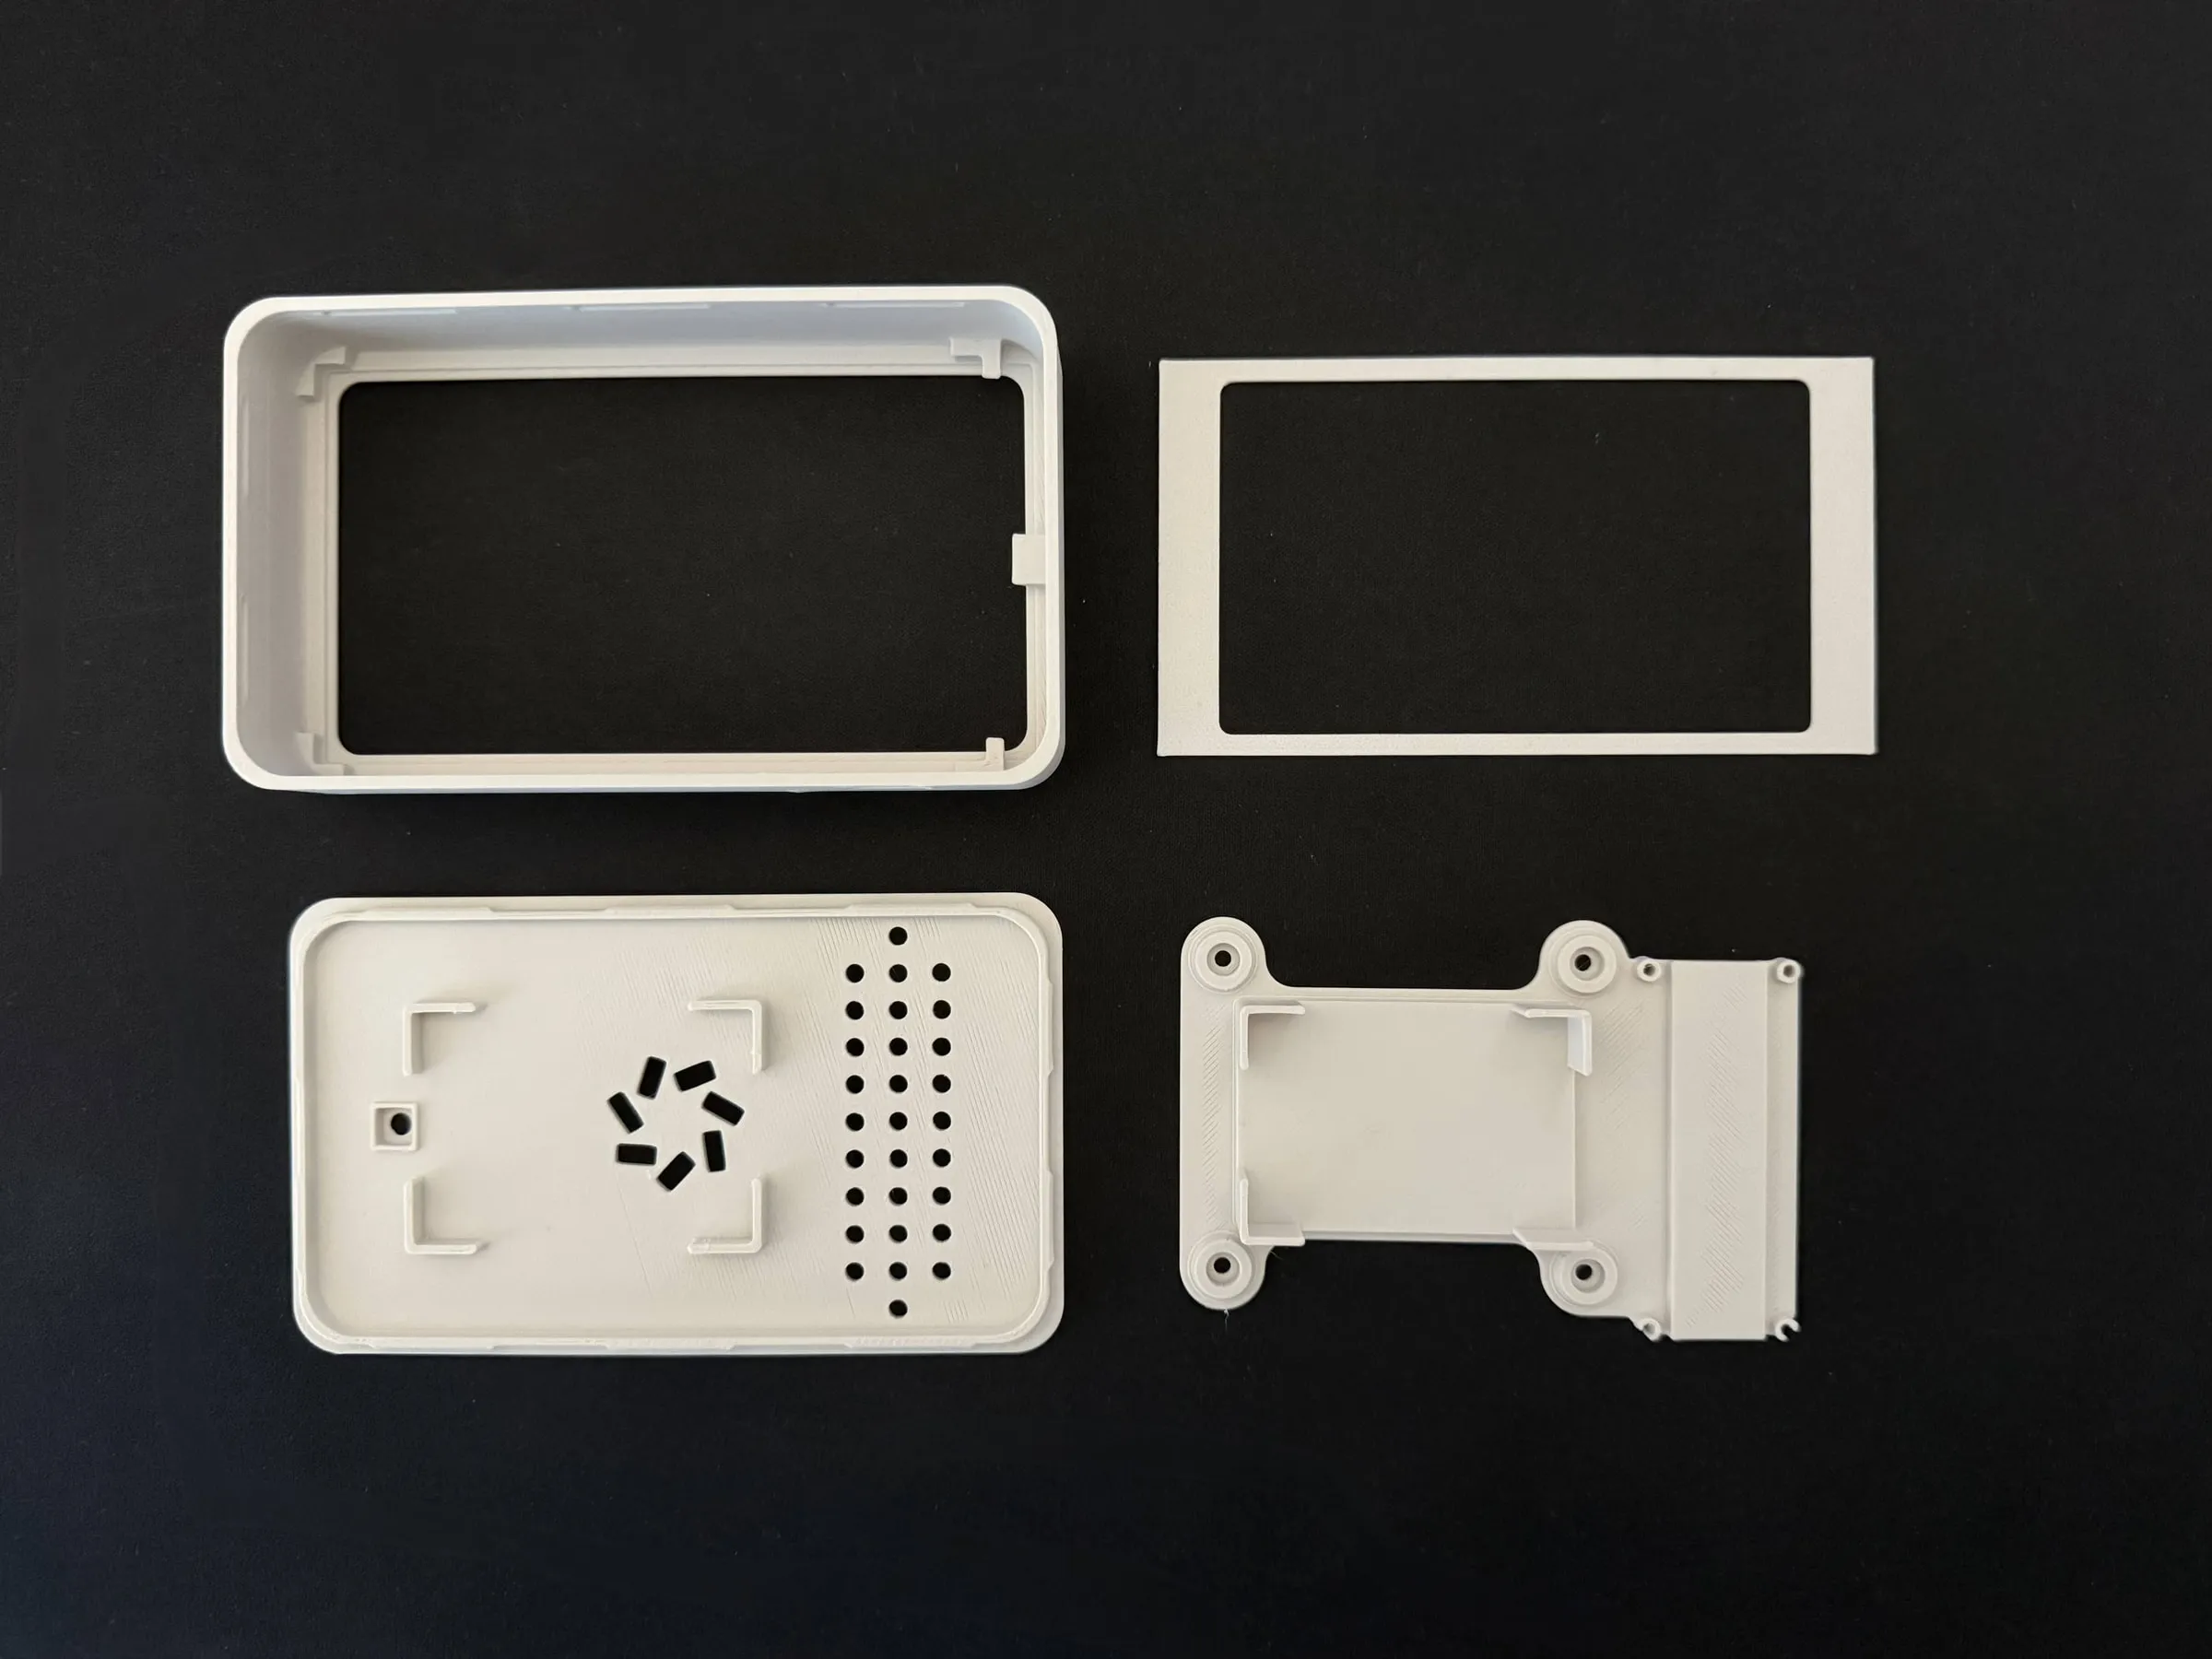
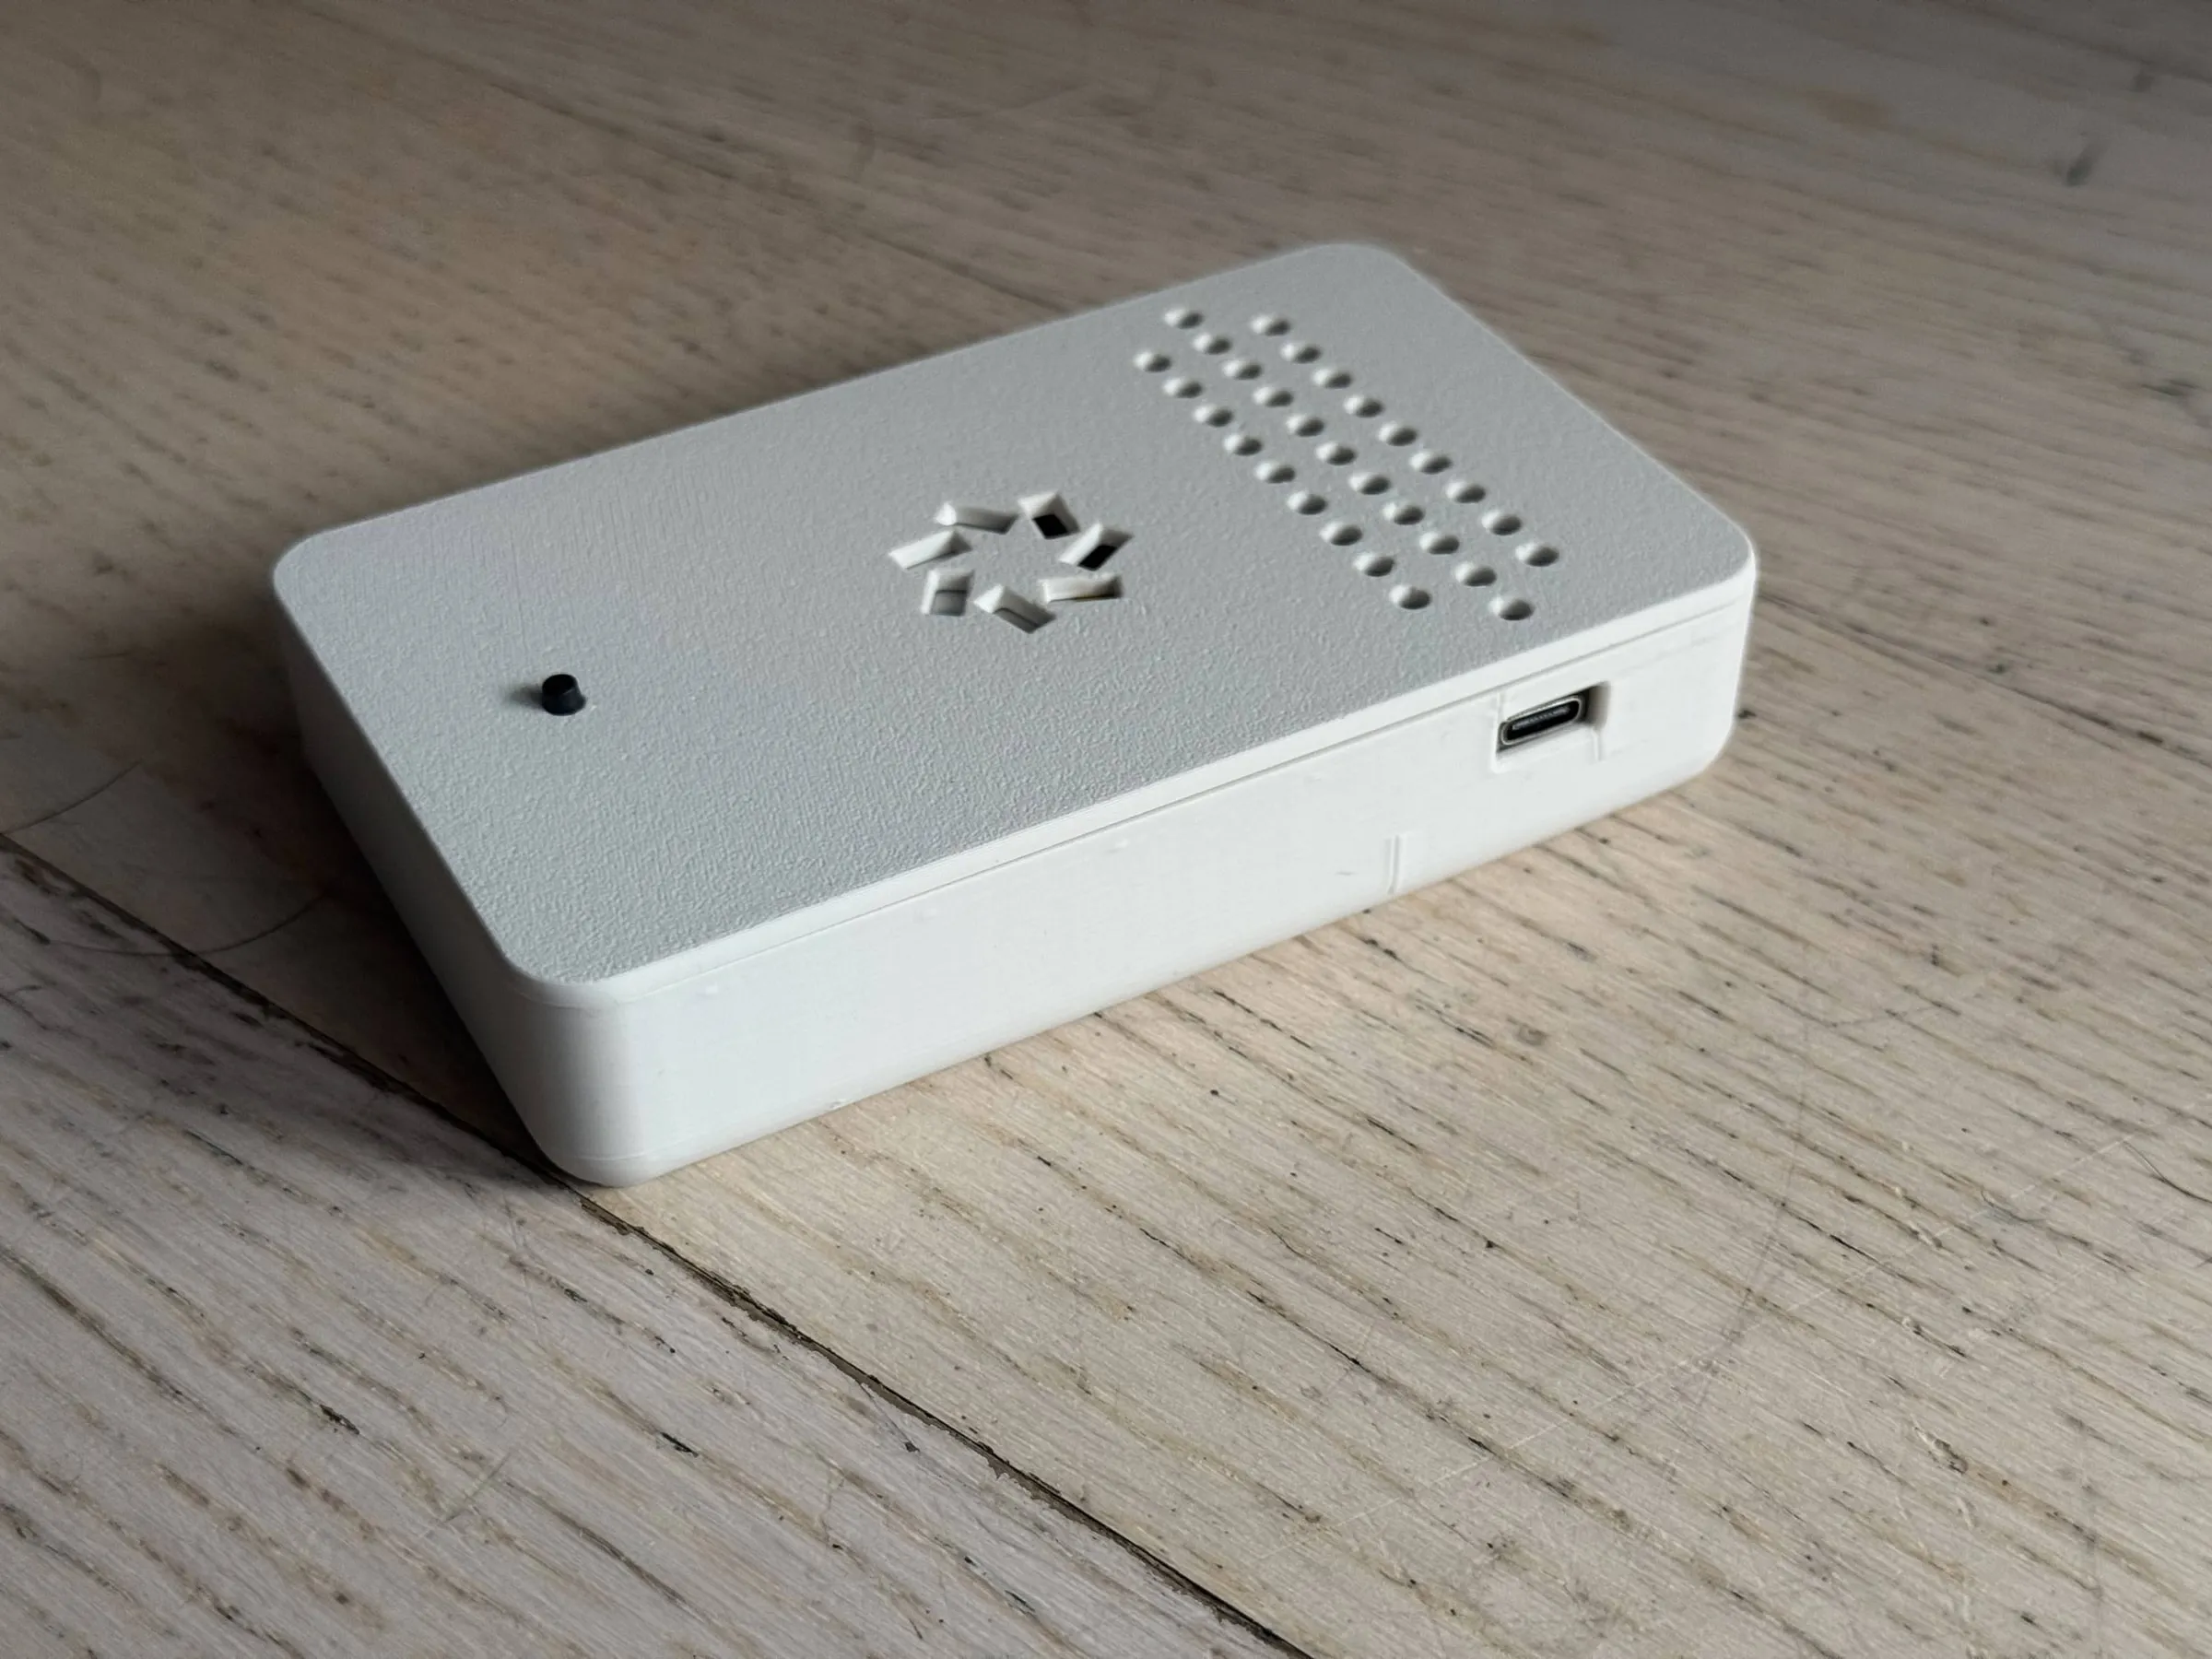
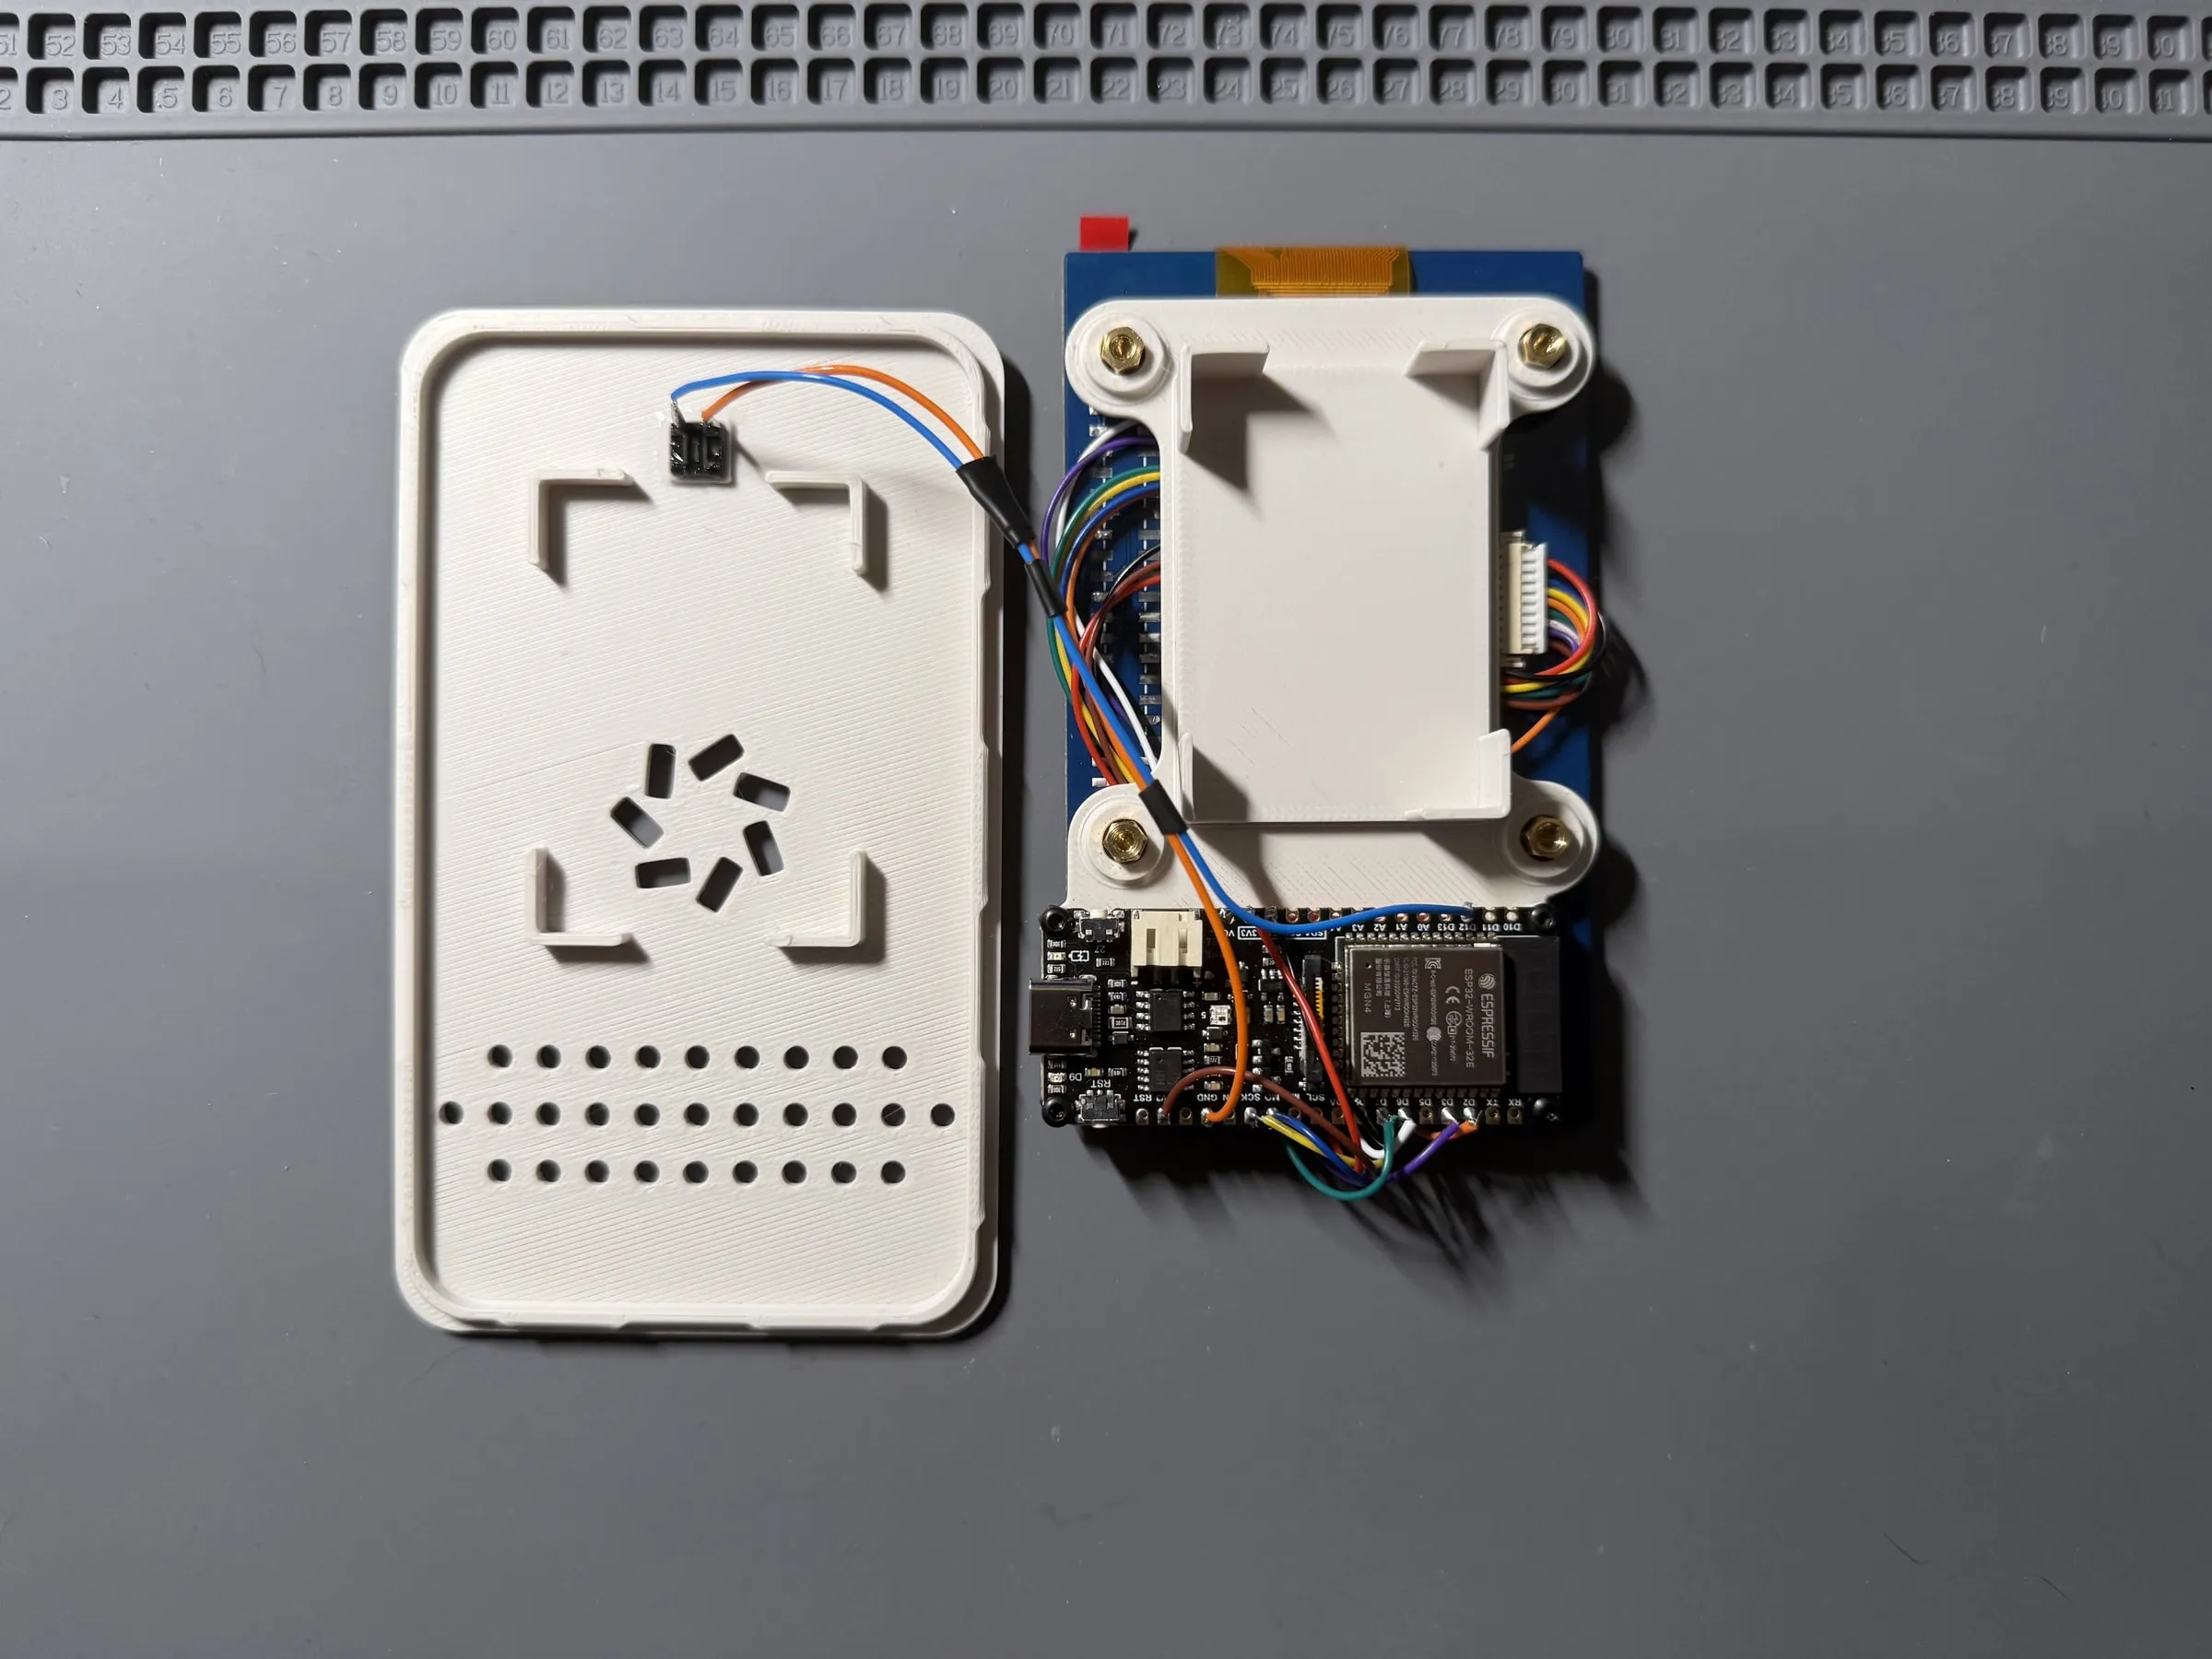
The board screws into the midframe, the midframe screws into the back of the display, and the battery sits in a holder in the midframe. I routed the display cable under the midframe (there is enough clearance for it). The button goes into the back of the case (I would recommend a drop of AC glue to hold it in place). Then the display with the midframe pops into the front, with the display ring already in it, and the back pushes in and snaps shut. The back holds the whole assembly in place, and the USB-C port of the Firebeetle 2 is accessible from underneath.
I designed a stand for it as well, which angles the display nicely for desktop usage. It can be used in two different configurations.
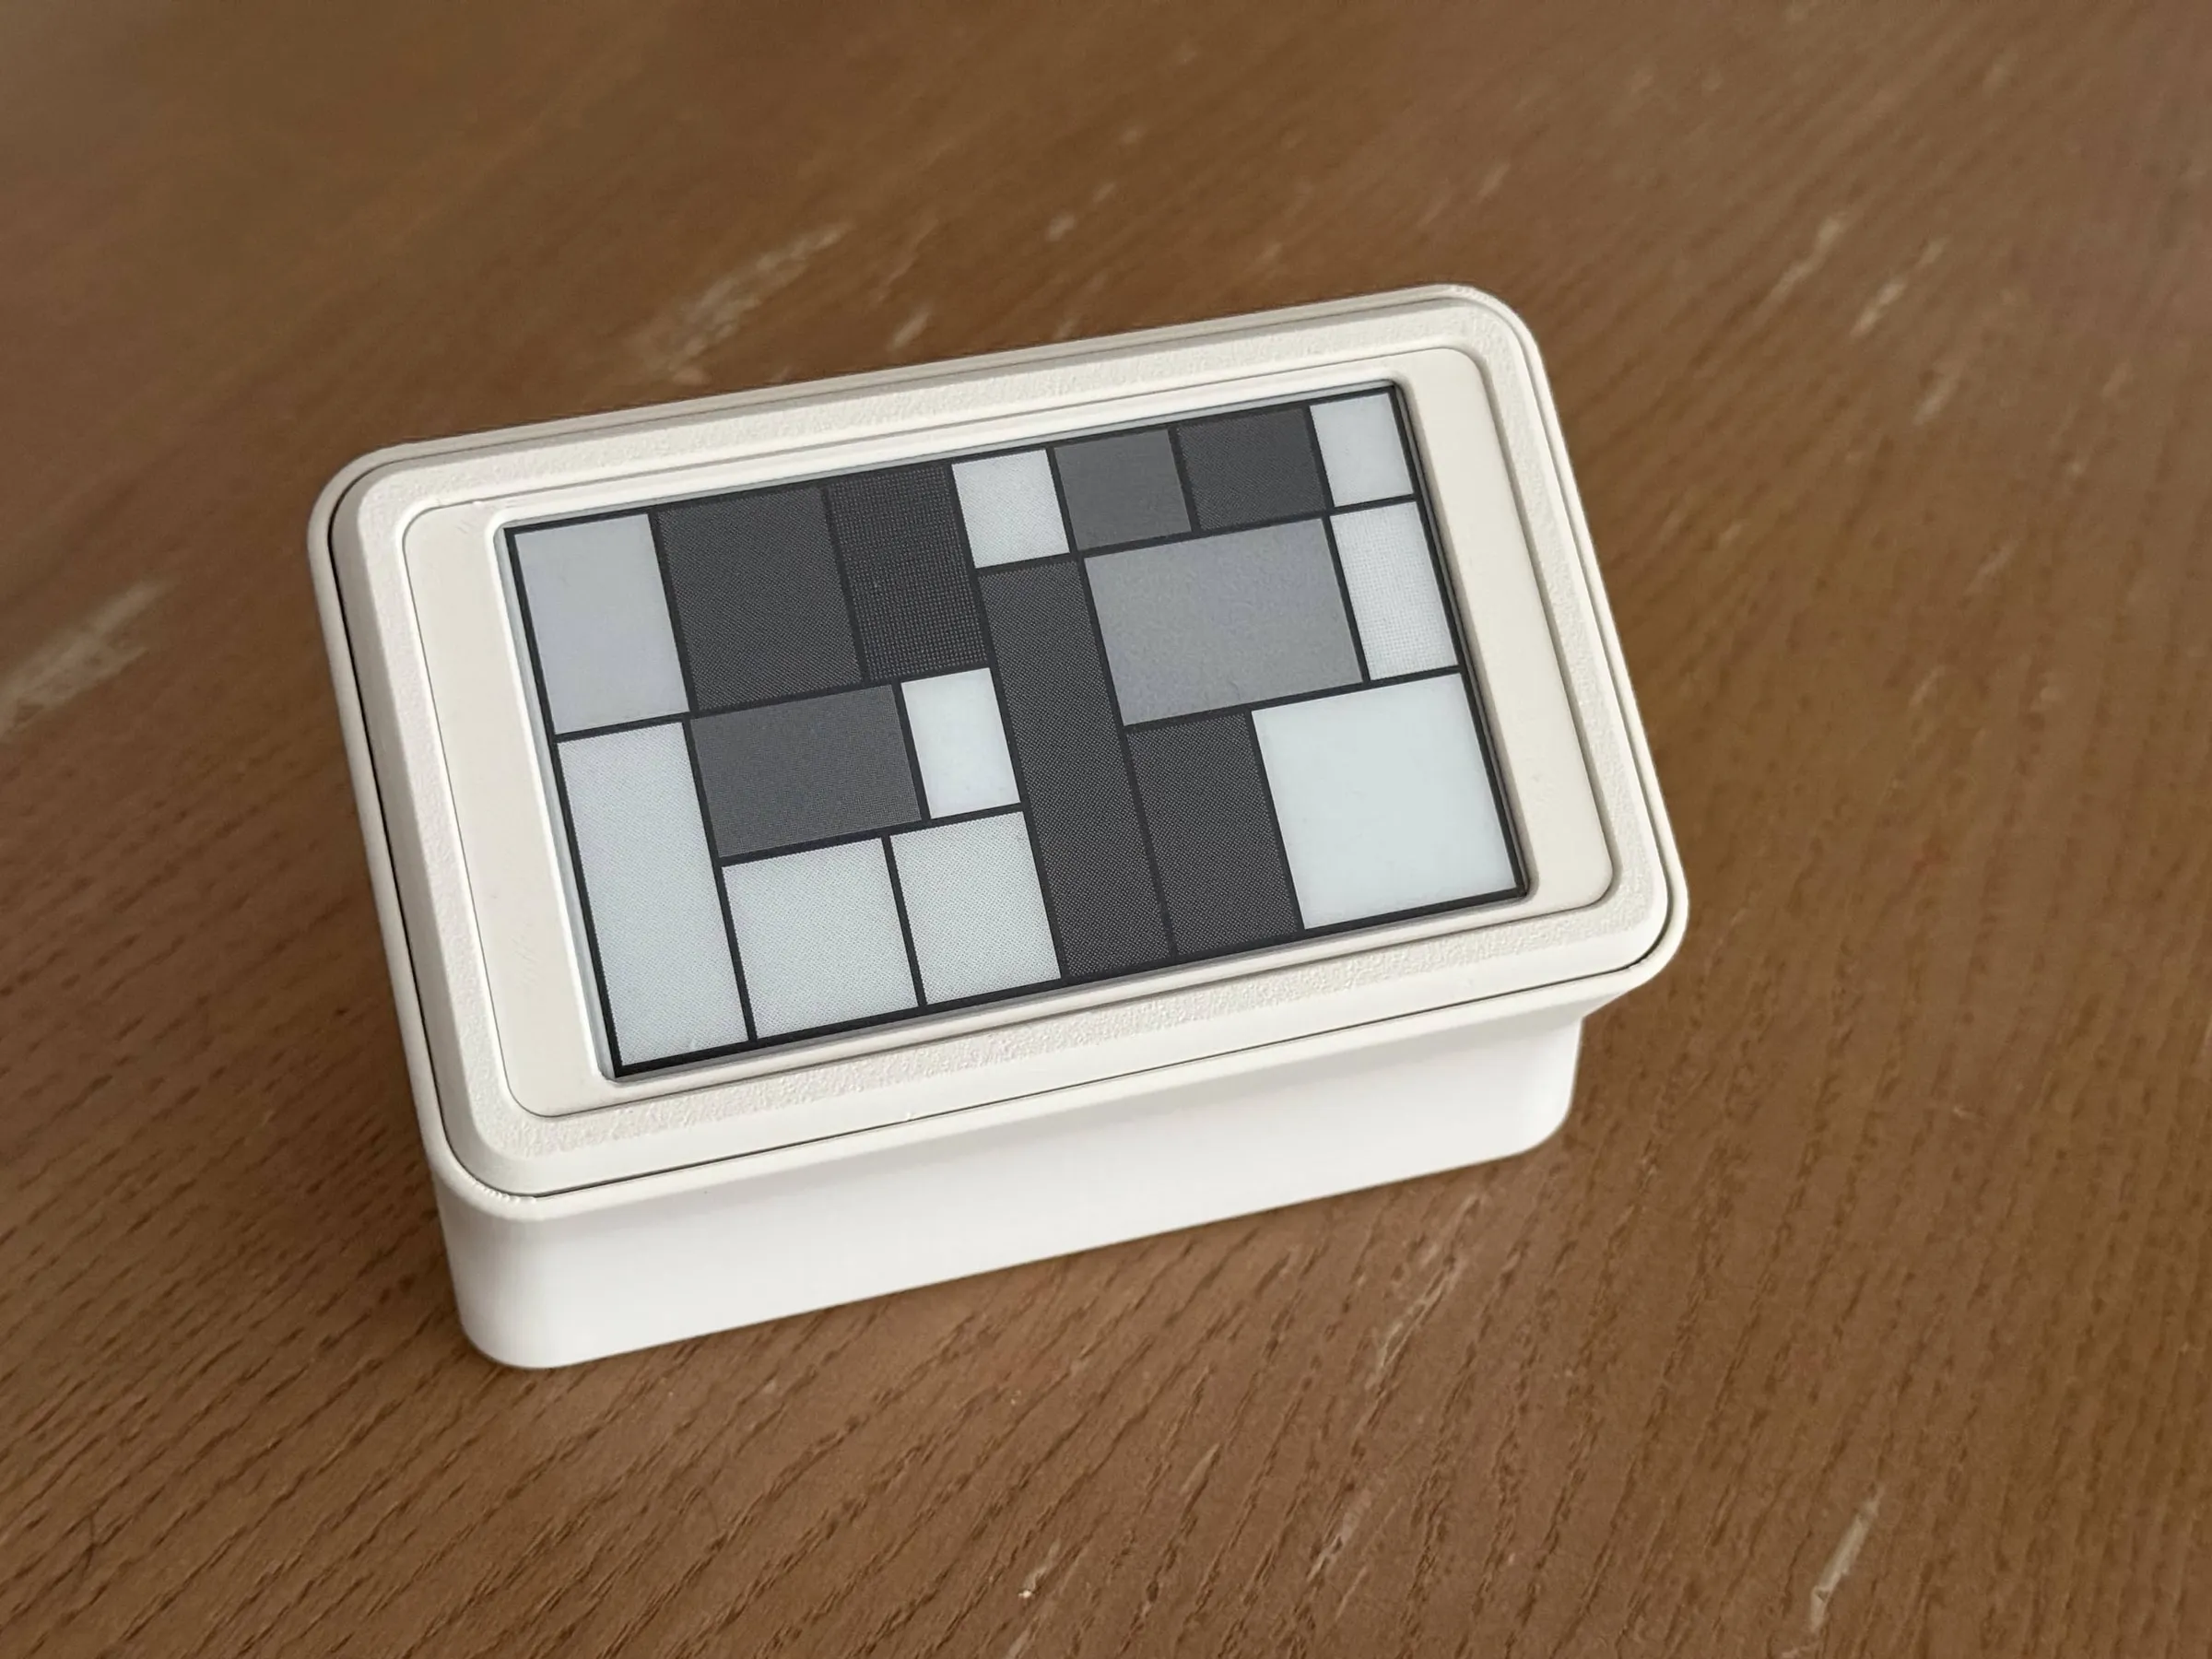
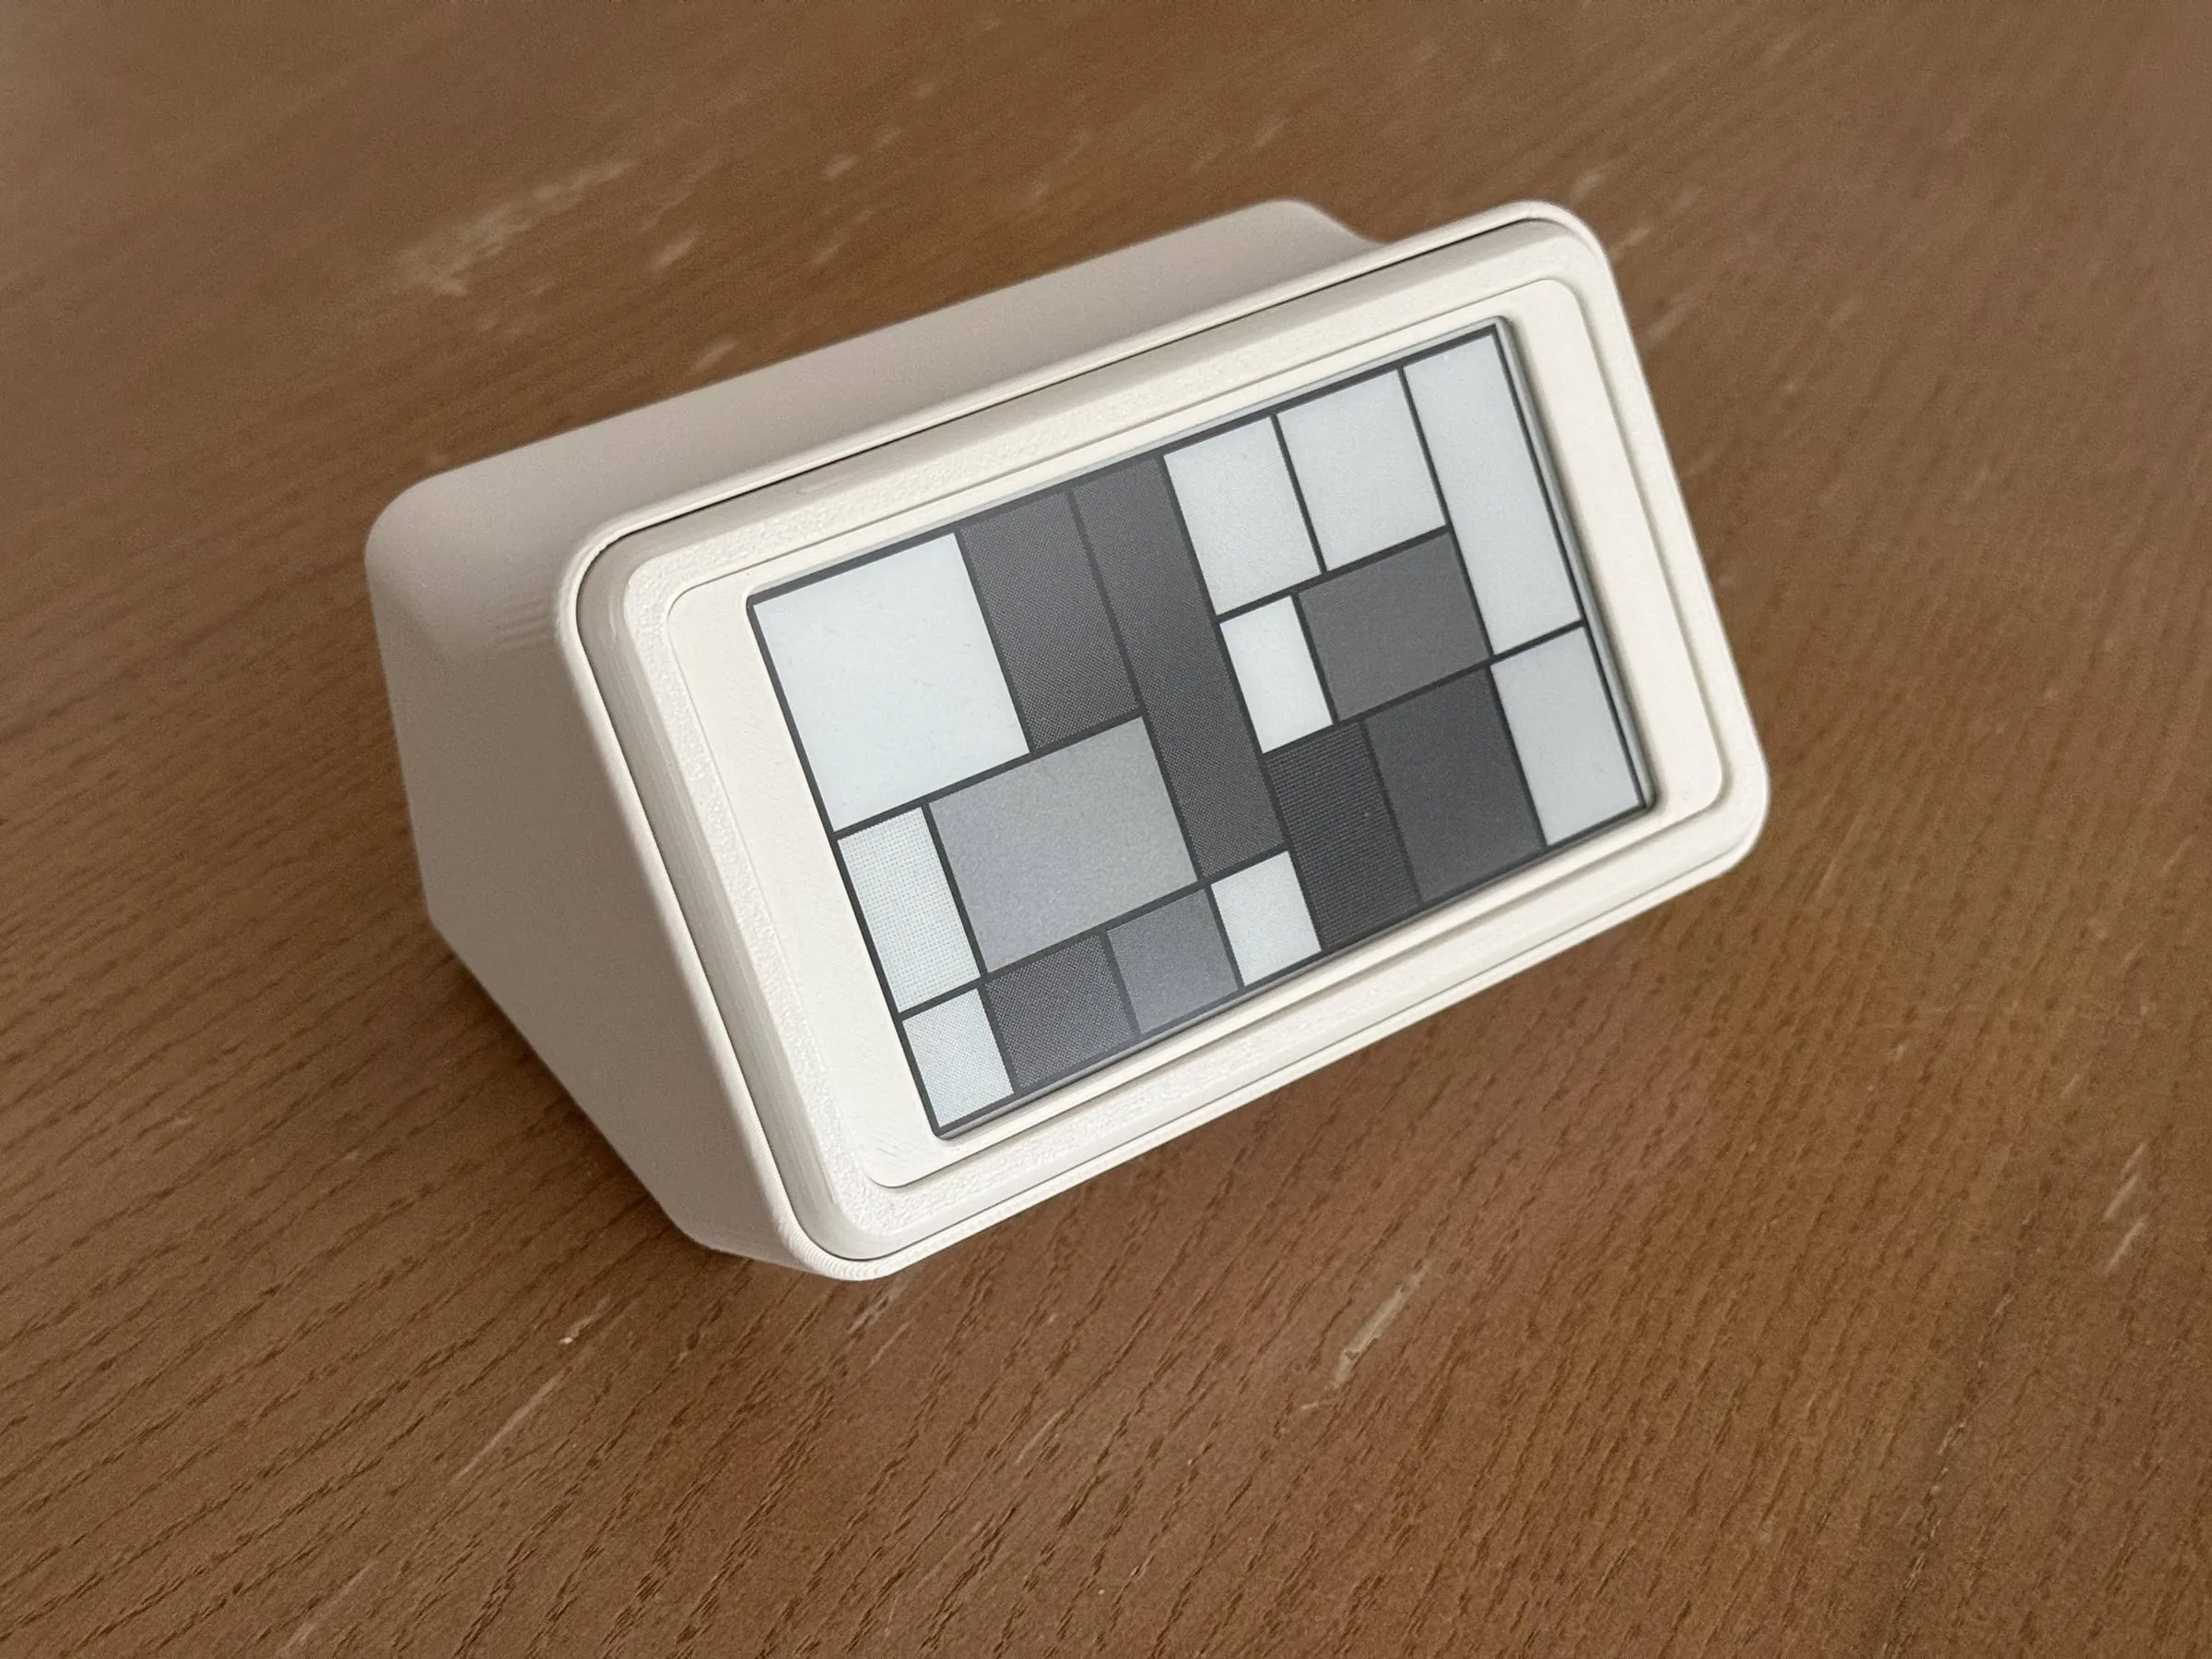
I printed the case on a Bambu Lab P1S in Bambu Lab Matte PLA Bone White. All the files are in the repo: .stl, .step and .f3d, plus a .3mf with everything set up on plates in Bambu Studio. The wiring, and how to build and flash the firmware, are in the README too.
What I’d change
Nothing, honestly I am very happy how it came out.
Note
AI was not used at all in creation of TRMNL mini, apart from the recent firmware commits in the repo - I used AI to set it up so my changes overlay on top of my fork of the firmware.
AI drafted this page from the
READMEin the github repo (mostly 1:1), after which I edited it. AI also created the alt text for images.