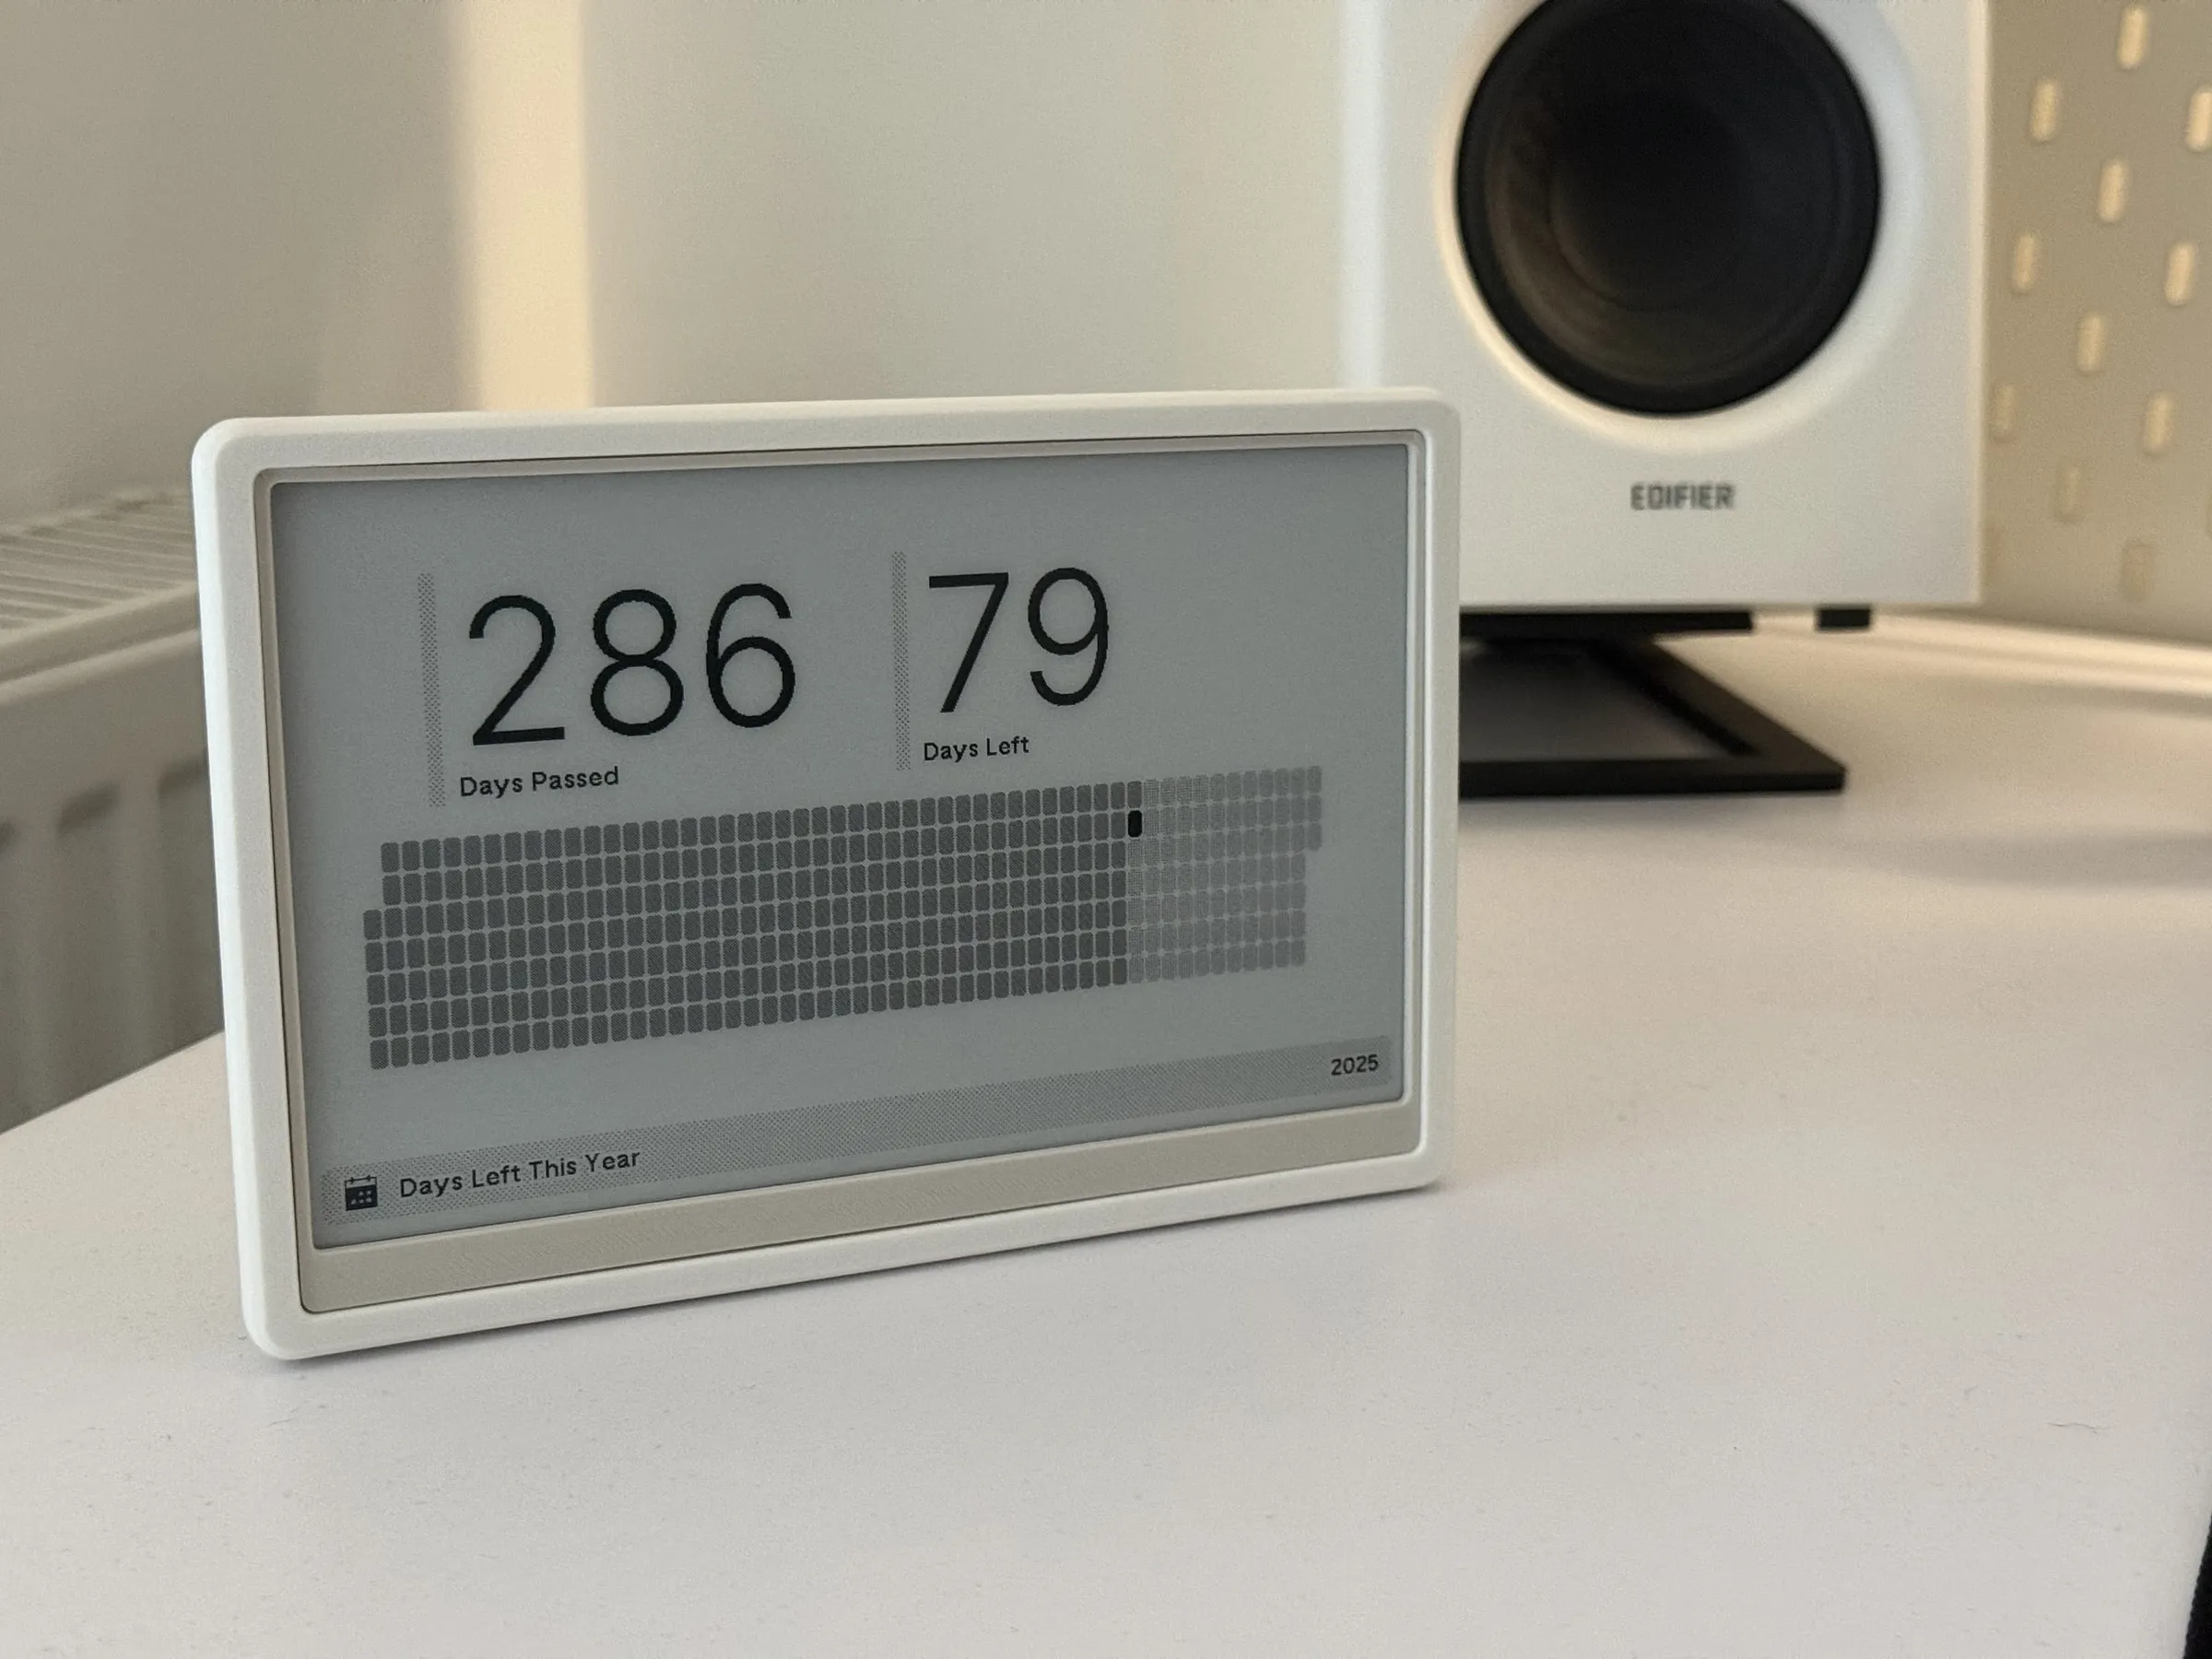
TRMNL Seeed DIY OG Kit Case
A snap-together 3D printed case for the TRMNL 7.5" (OG) DIY Kit e-ink display.
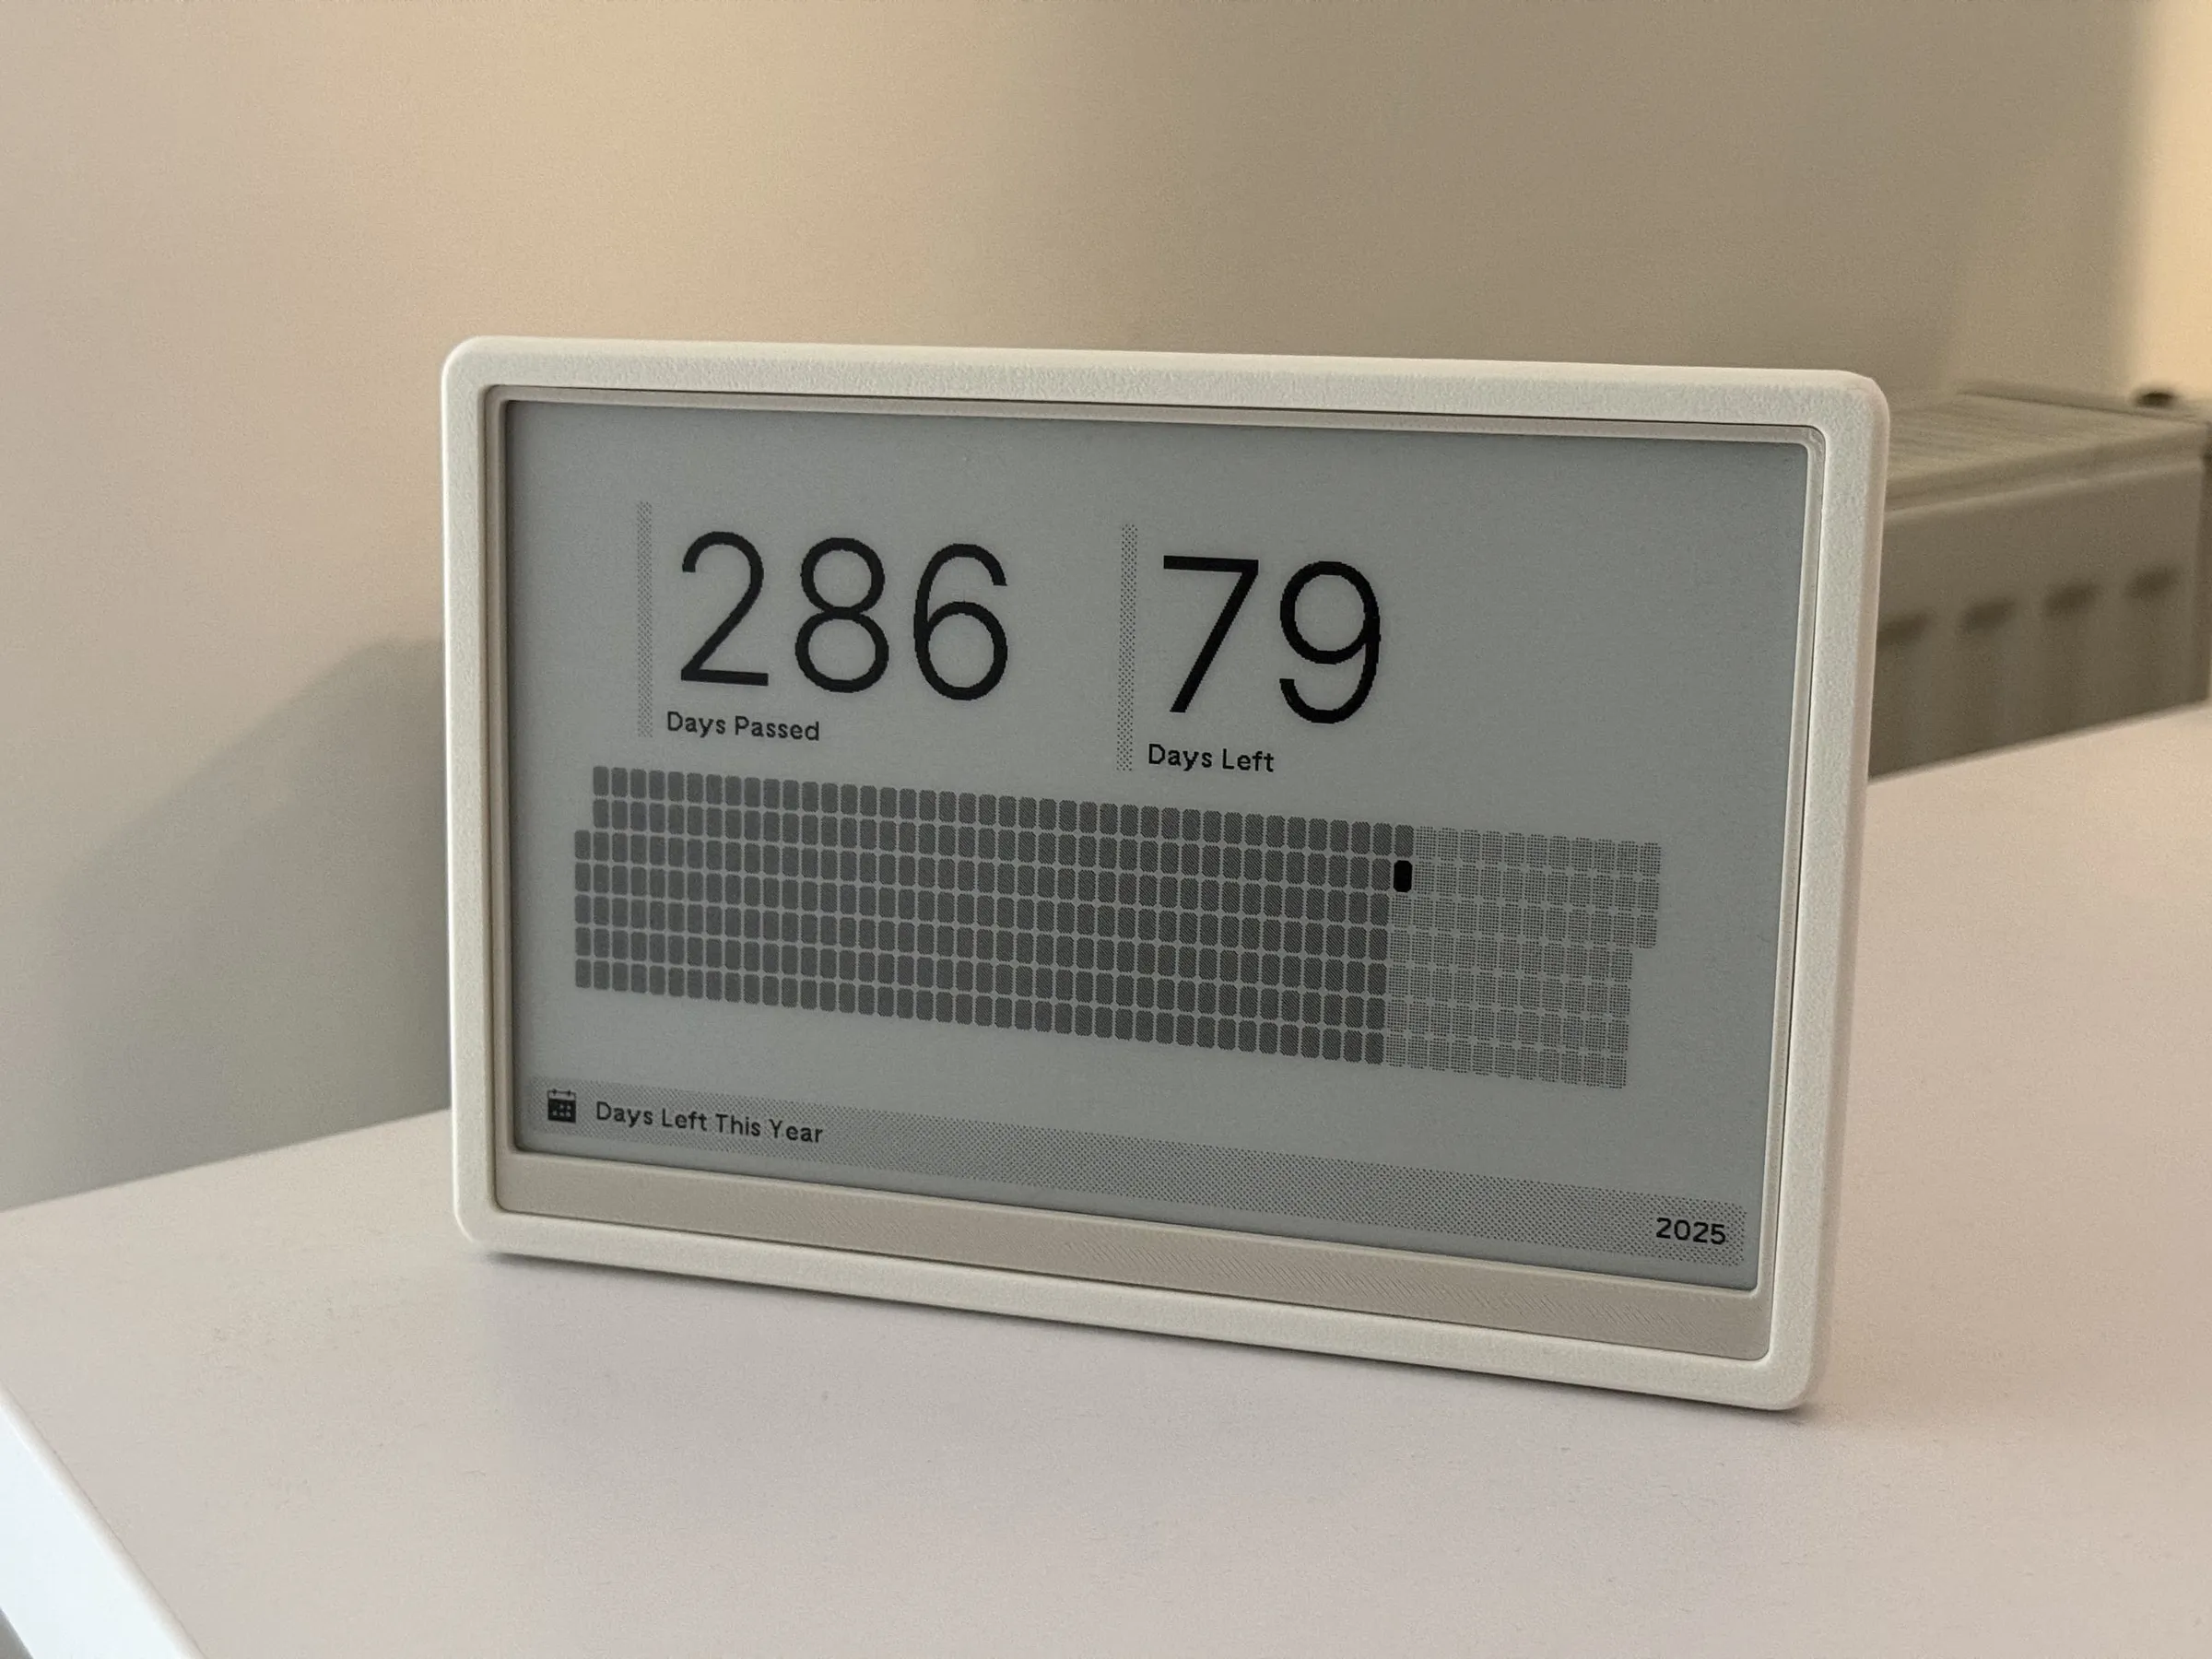
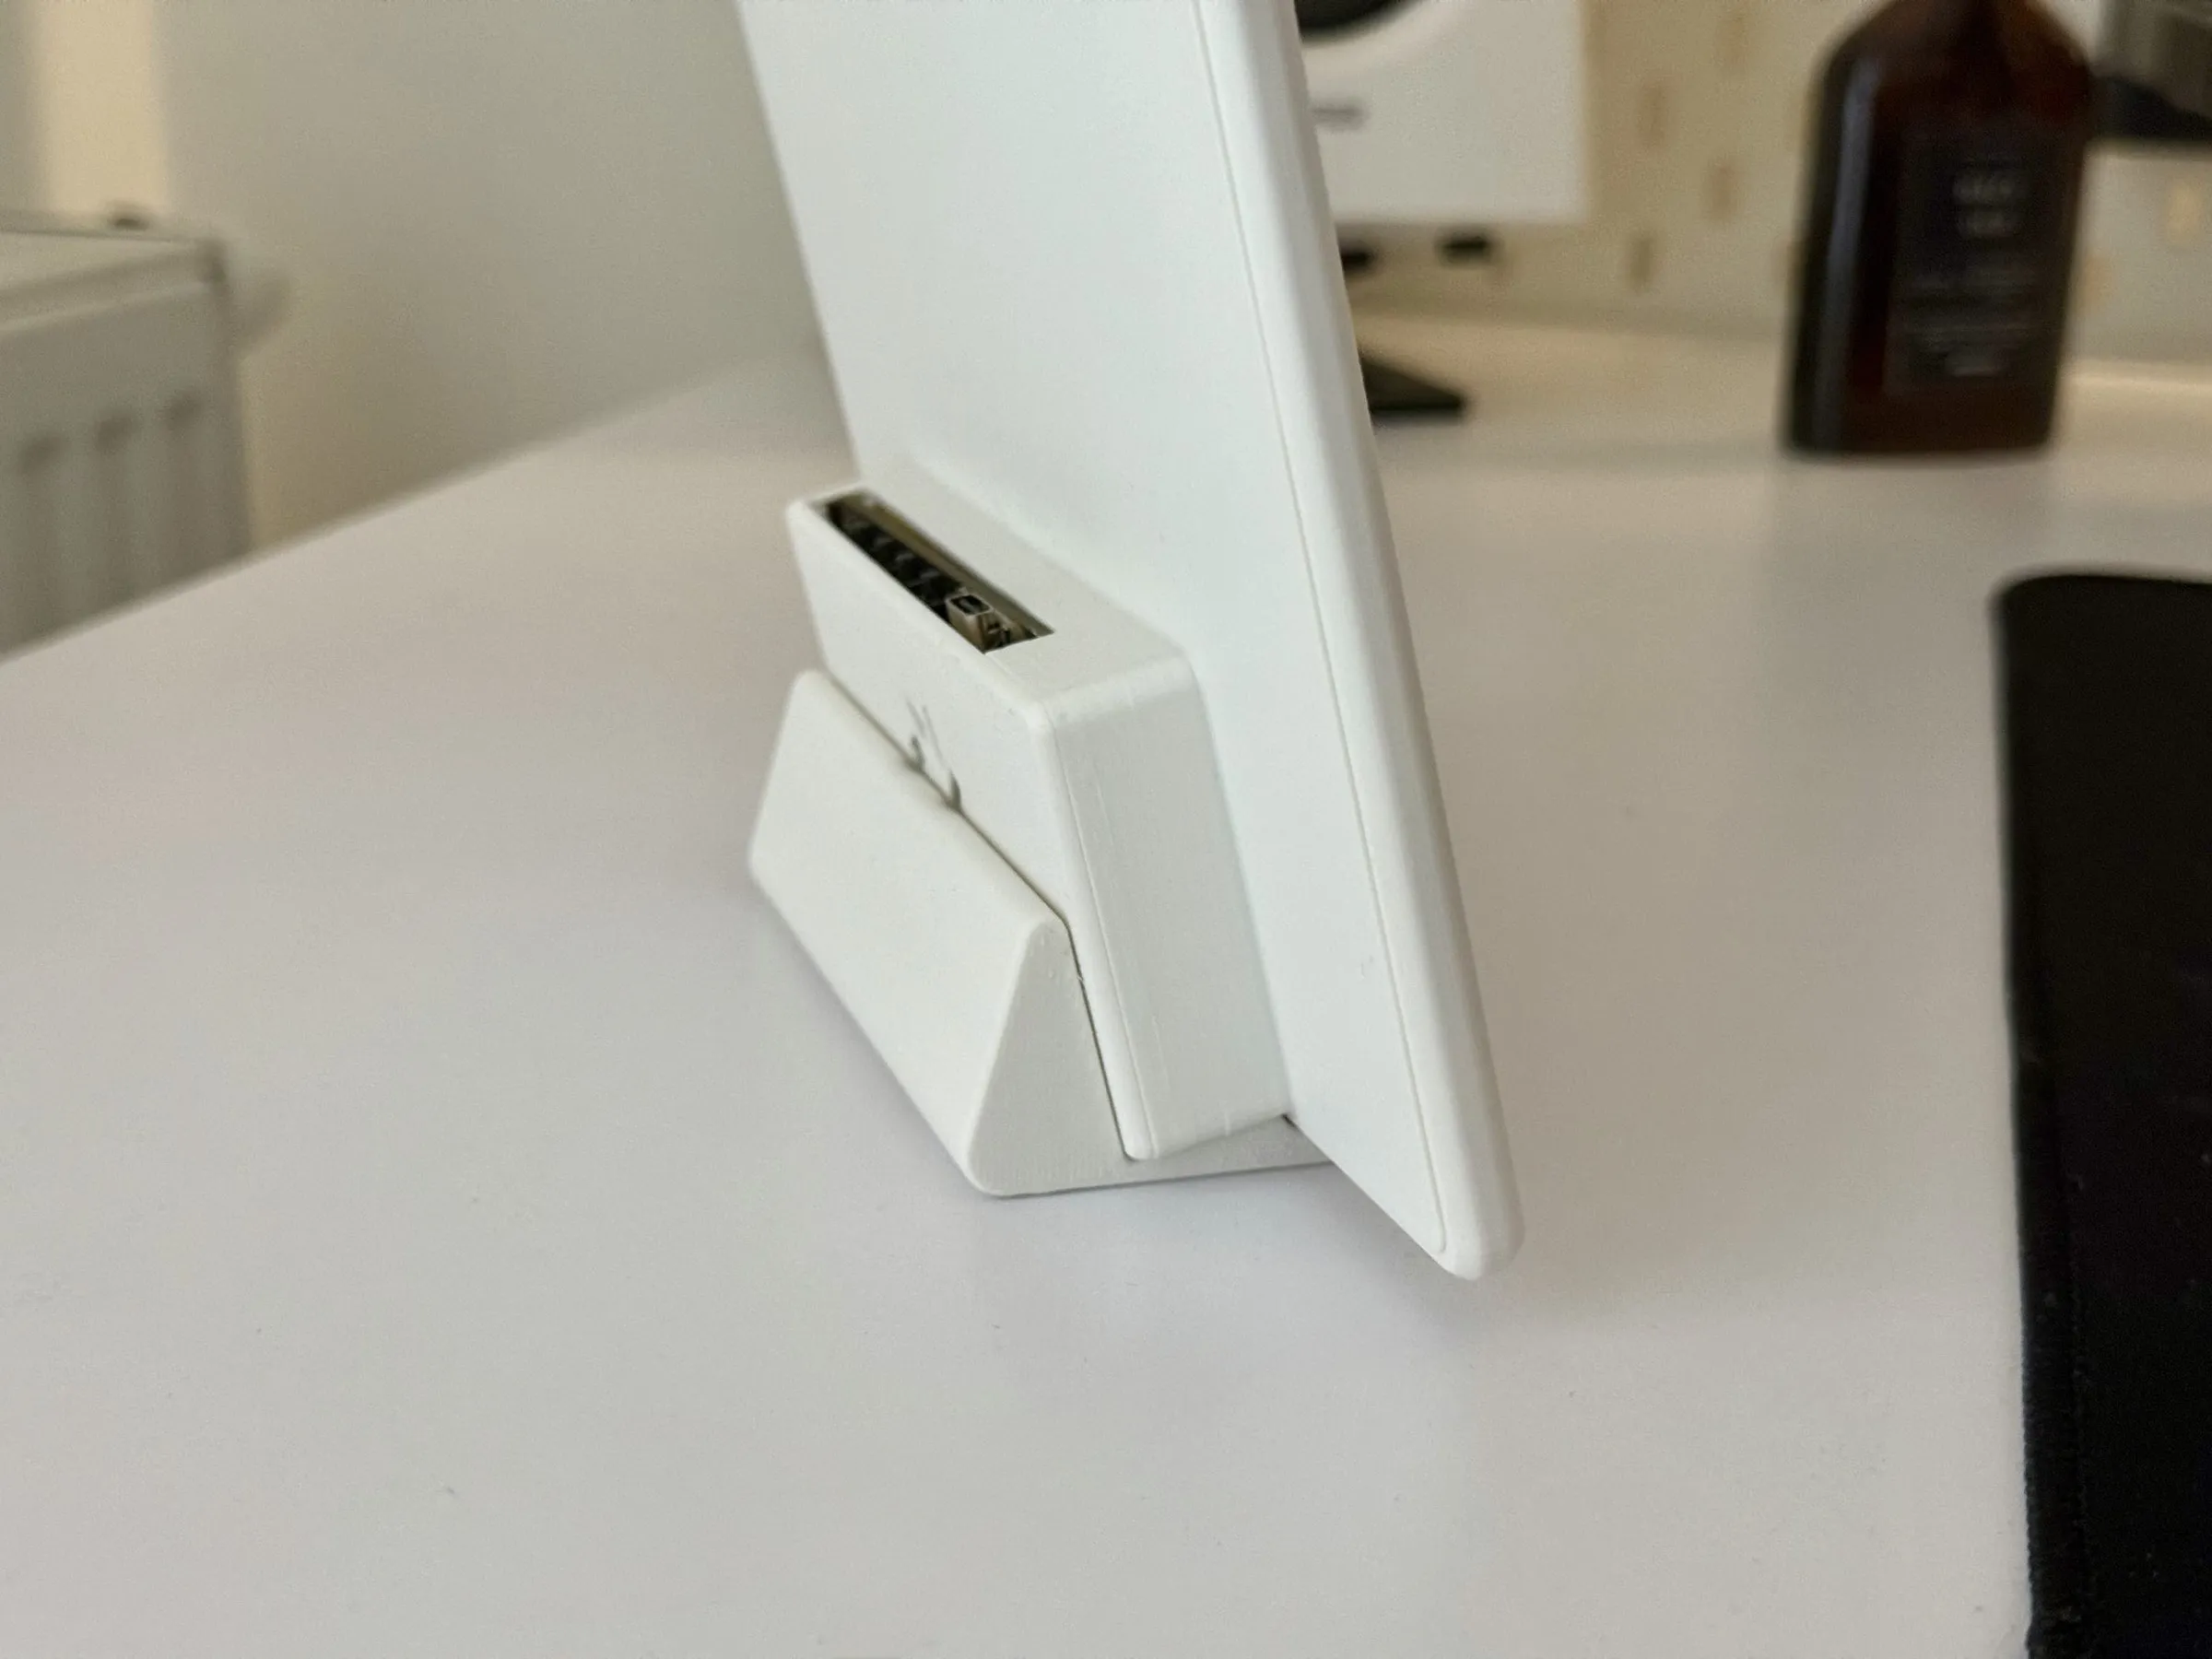
This is a case for the TRMNL Seeed 7.5” (OG) DIY Kit. It stands on its own on the desk at a slight angle, and everything snaps together with no hardware required.
Why I made it
There was no case for this DIY kit that looked good, so I made one.
I wanted to hide the ugly “chin” (bottom) of the e-ink display, so I designed an internal ring that’s slightly inset into the case. In my opinion it looks quite pleasing. Because it’s a separate part, you can print it in a different color and customize it that way.
Build story
There are two versions.
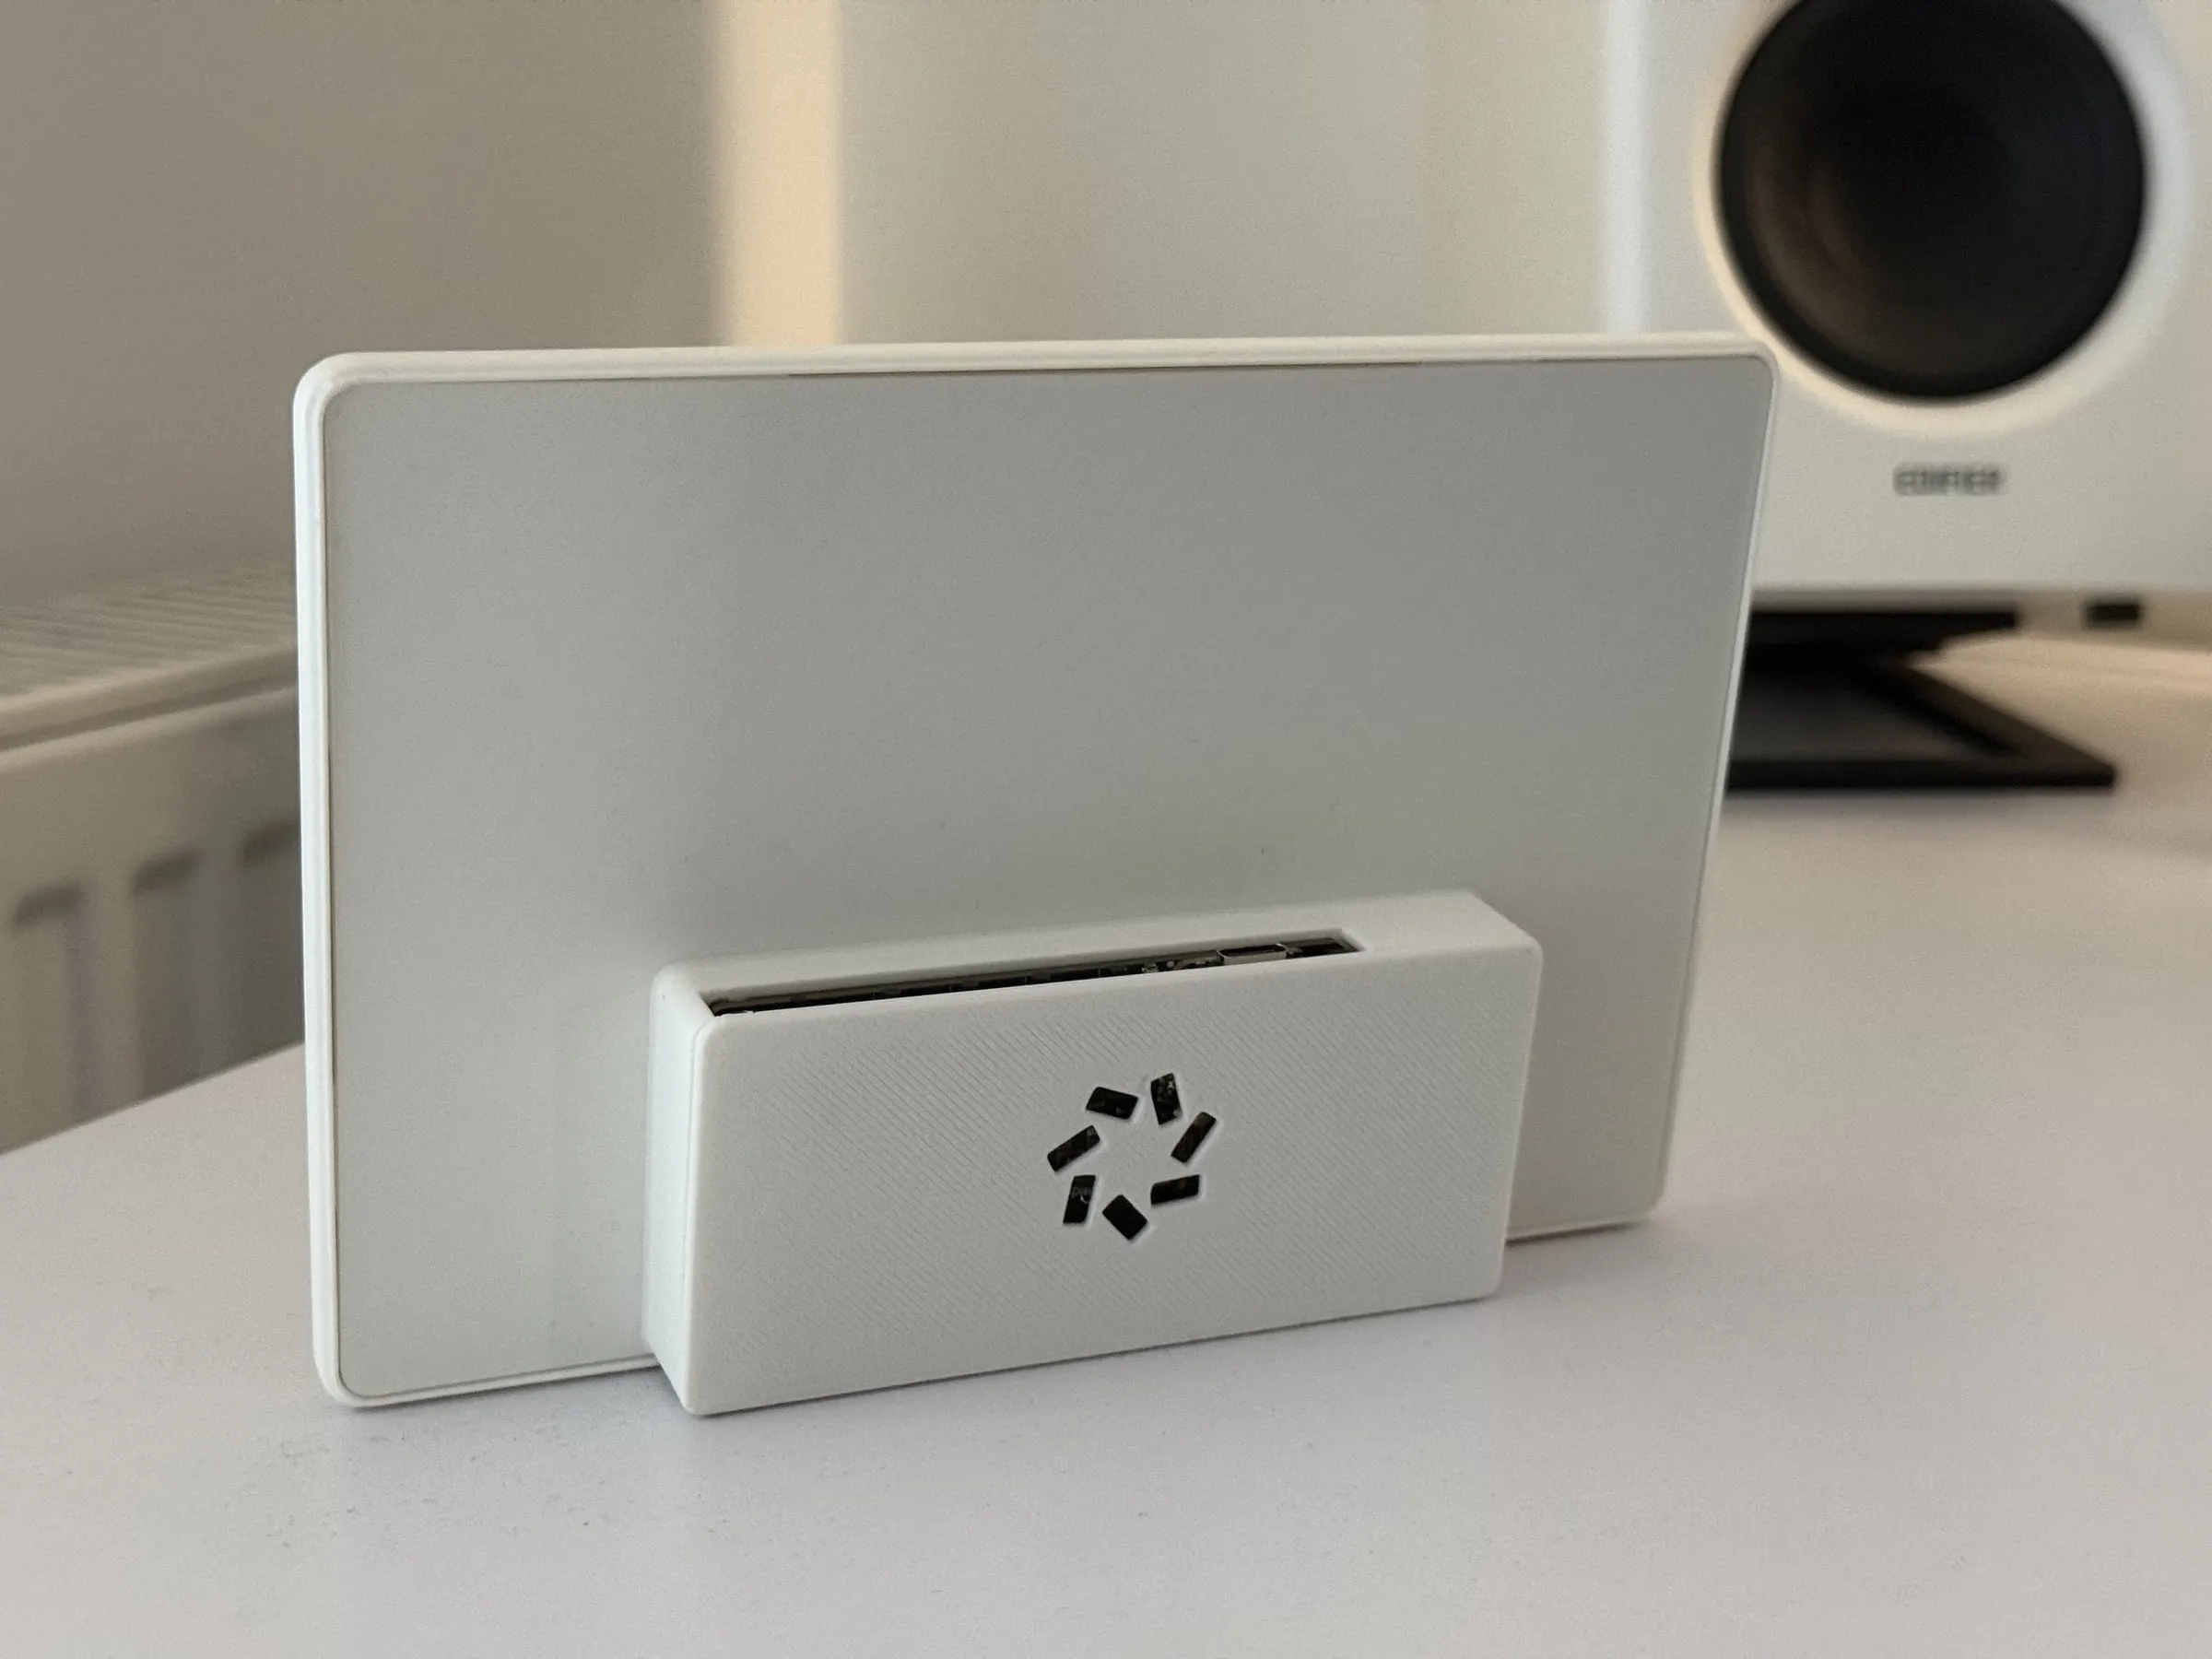
V1 requires brass heat set inserts to mount the PCB. I used M3 inserts and M3x8 hex screws. The PCB sits on top of the battery, so you have to snip off the headers on the bottom of the board first. They protruded quite a bit in my unit, and you do not want to puncture the battery.
V1 worked, but I got better at CAD and figured out how to design a version that wouldn’t require any hardware, so the whole enclosure is accessible for more people. This is also something that was based on the feedback that I have gotten in comments on Makerworld.
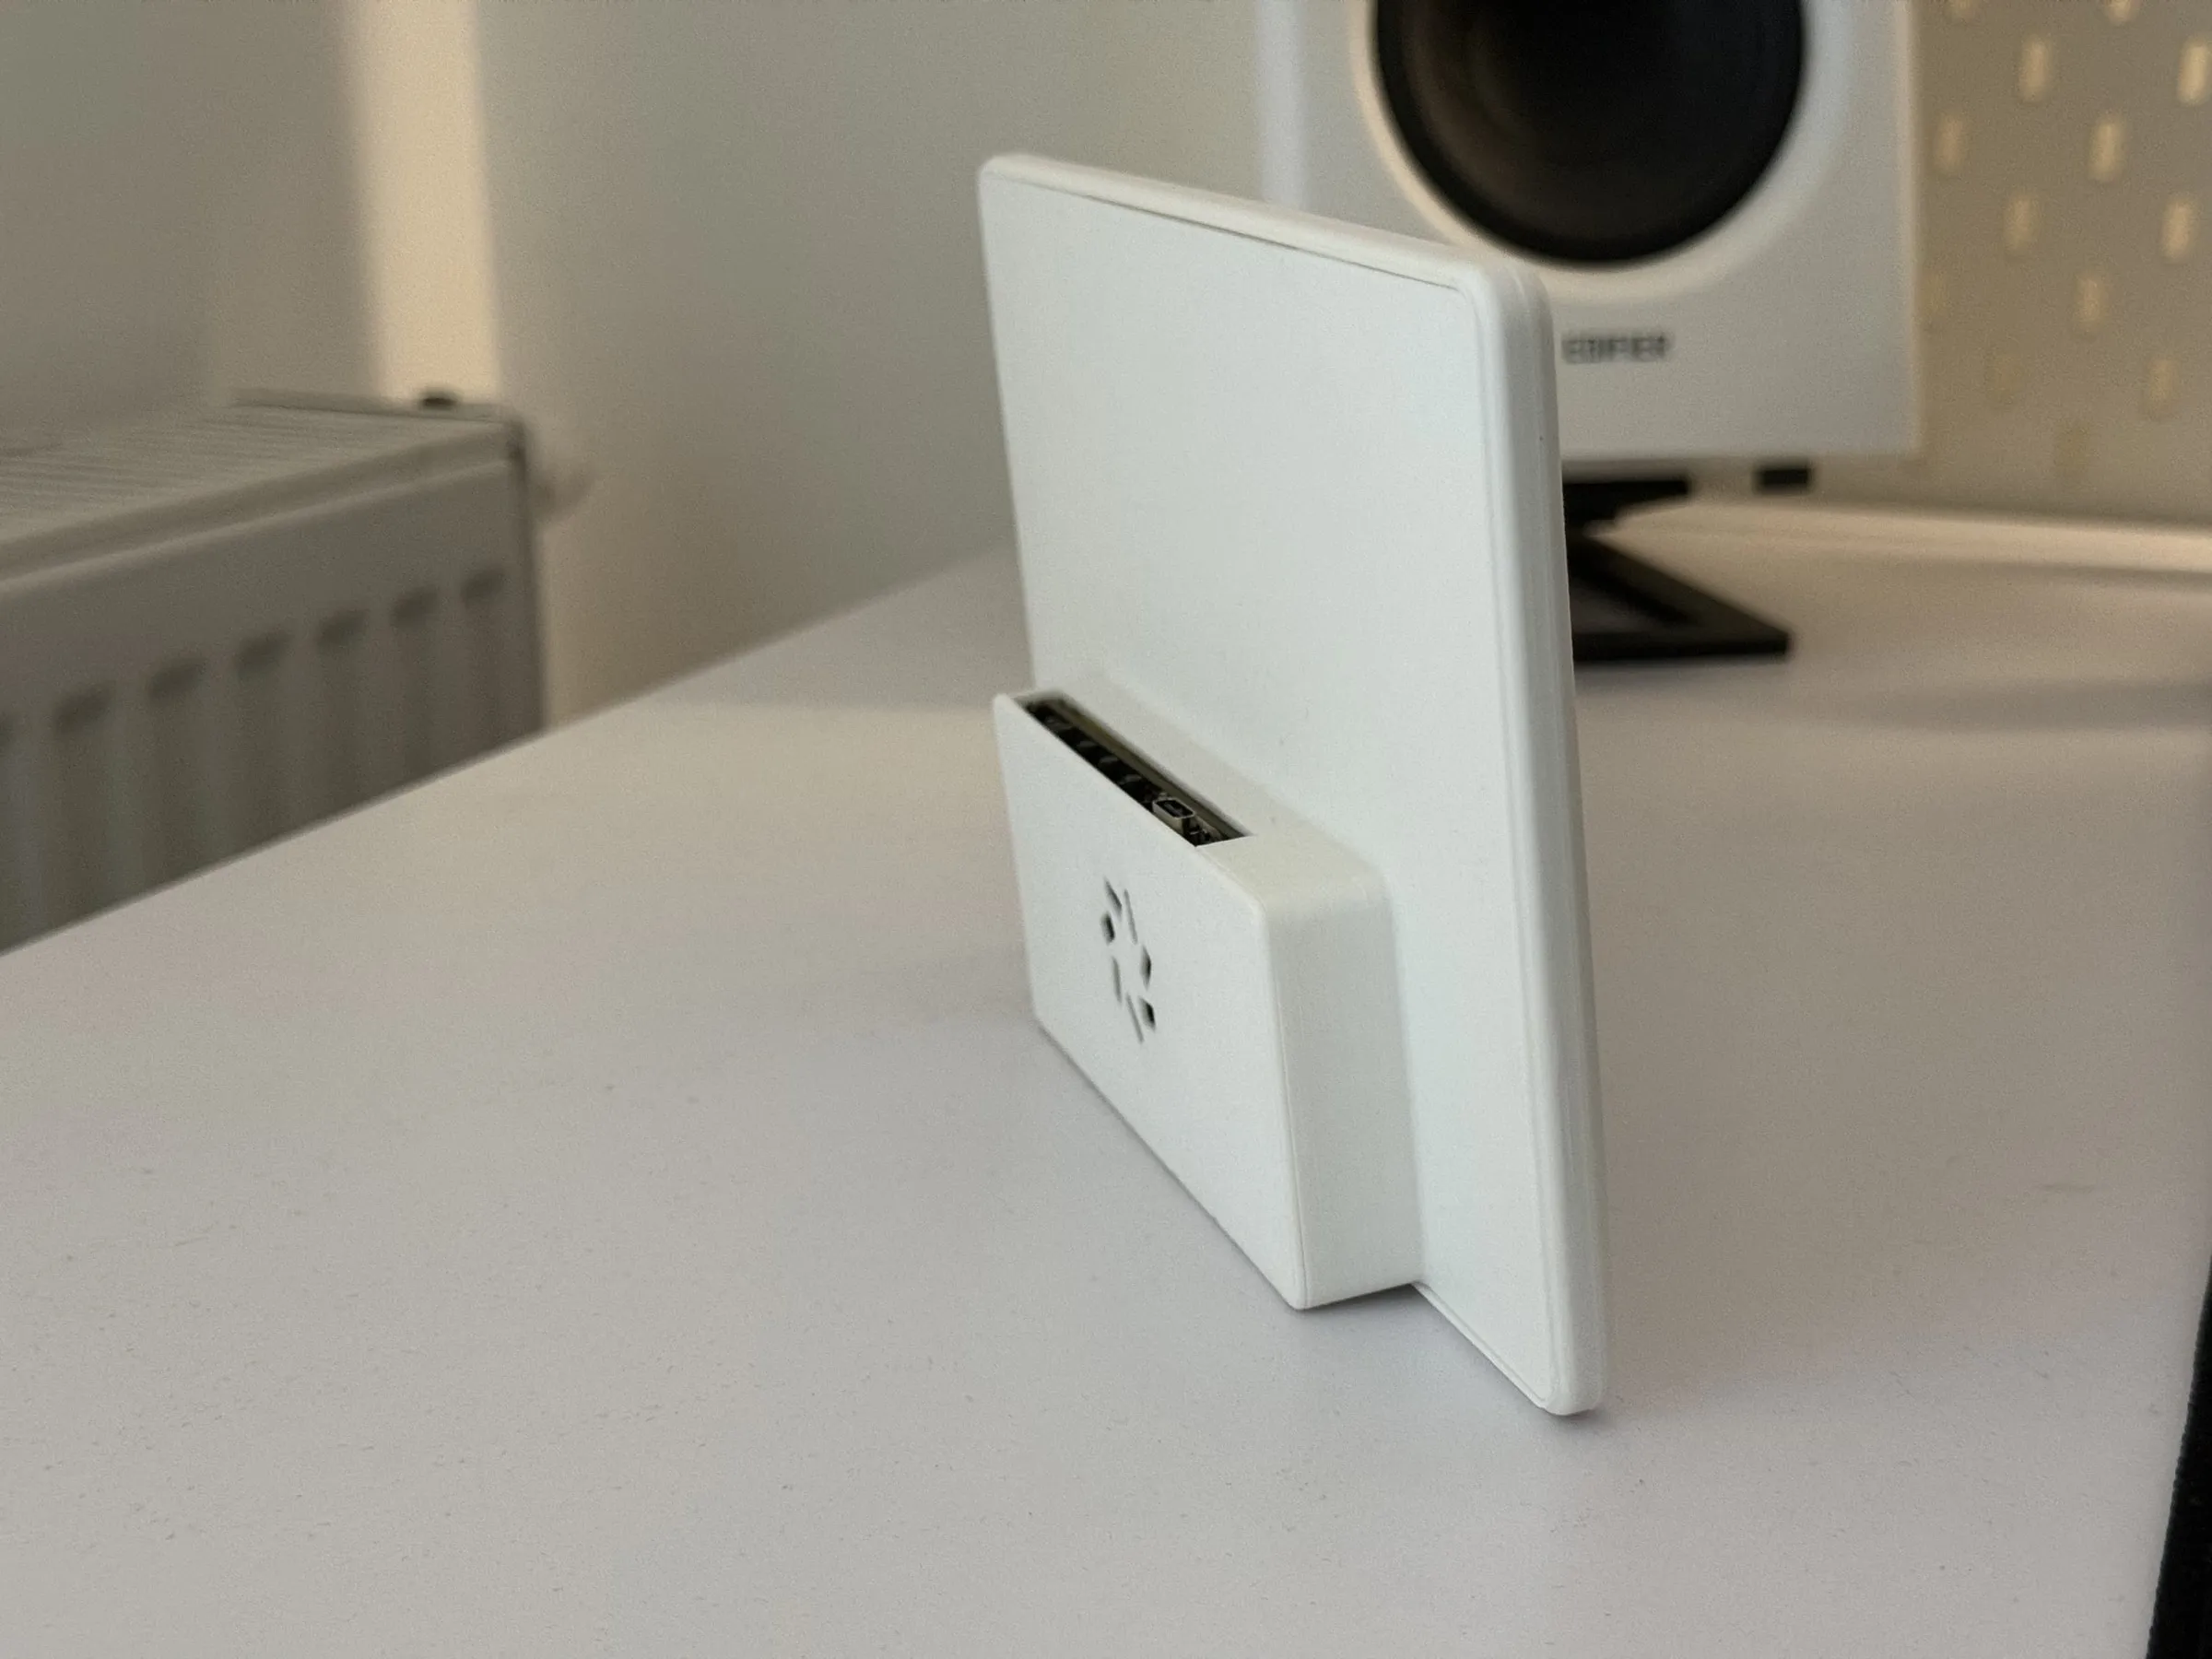
I released V2 in 2026-01, with improved internal/outside geometry and no heat inserts.On its own it’s not the most stable thing ever. You can knock it over because of where the internals sit. It’s not an issue for me, but V2 adds desk holders that fix it. The stands were a commenter’s idea and I actually do use one myself now.
How it works
The case is four parts:
- Front
- Display ring
- Midframe
- Back
The ring goes into the front first. It only goes one way, there is a lip there. The display lines up with posts inside the front, its cable goes through an opening in the midframe, and the midframe snaps in place. Battery, board and WiFi antenna go in the box on the back, and the back cover pushes in.
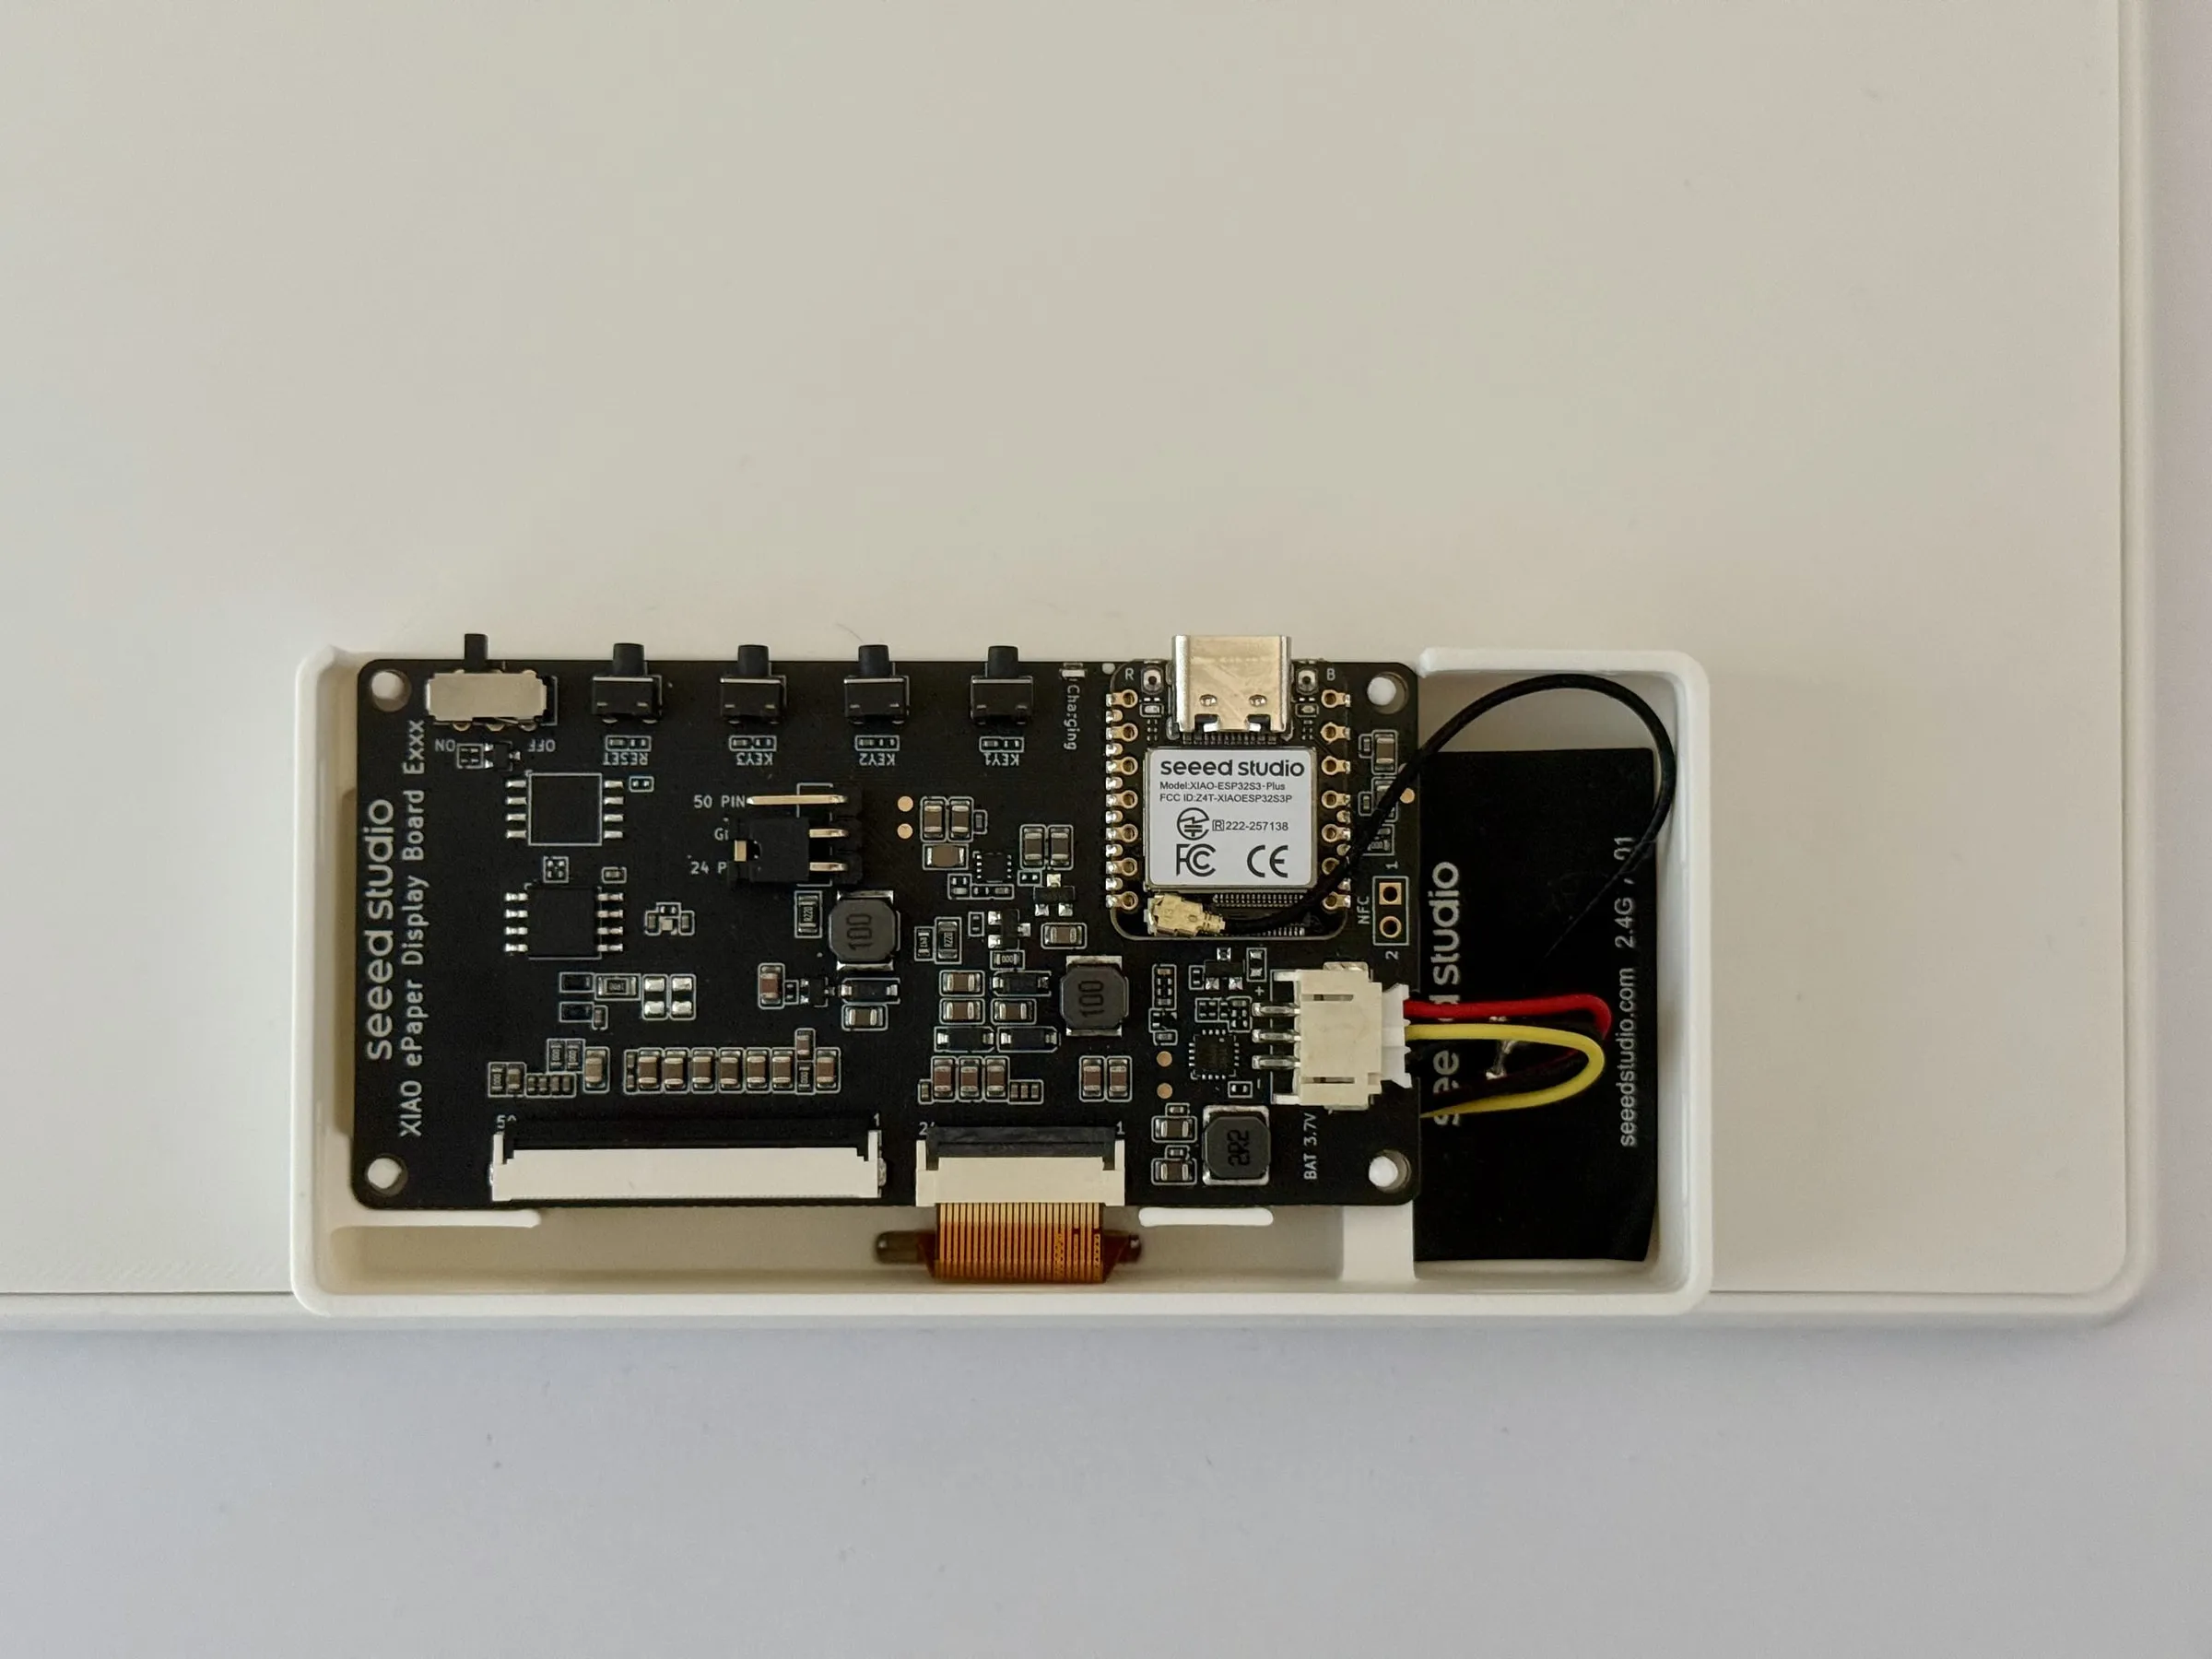
The print profile also has three desk holders (12.5, 20 and 30 degree tilt) and a Skadis pegboard holder, each on a separate build plate, so you can choose which one you want to print.
Mine is printed in Bambu Matte PLA Ivory White, with the ring in Sunlu Marble PLA Chestnut Brown. Print settings and full assembly steps are on MakerWorld.
What I’d change
Probably now that I have more CAD Knowledge (Autodesk Fusion), my timeline in this project would be cleaner. Besides that, I am quite satisfied how it came out.
Note
AI was not used while designing this enclosure. All pictures and text are mine. AI was used to create the alt text for images.